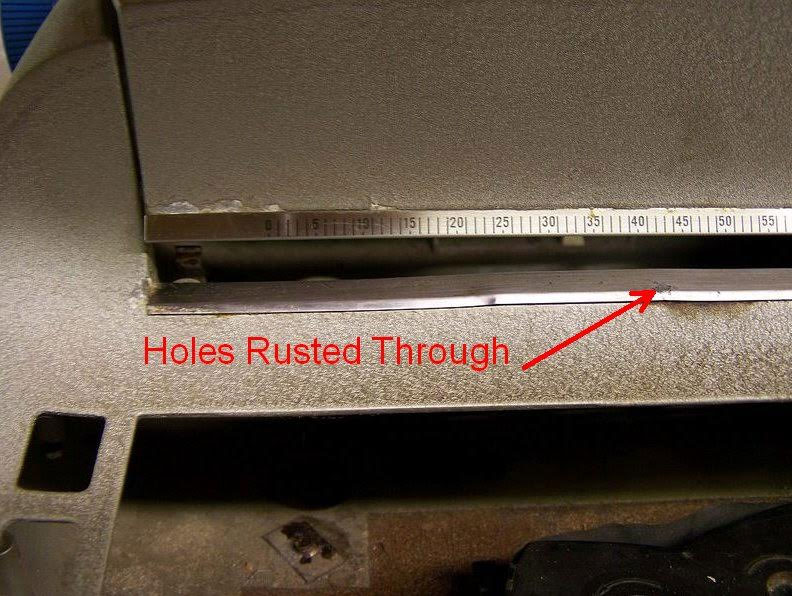
This past June, I was corresponding with our friend ProfessorC about an original blue-trim 1962 IBM Selectric that he was in the process of restoring. The topic of our discussions was the condition of the front stainless steel trim pieces (stainless steel was only used on the very earliest Selectrics, later years saw a switch to aluminum). On his machine, the trim was badly worn, rusted and pitted – and the Professor felt that it needed to be sanded down and restored from scratch.
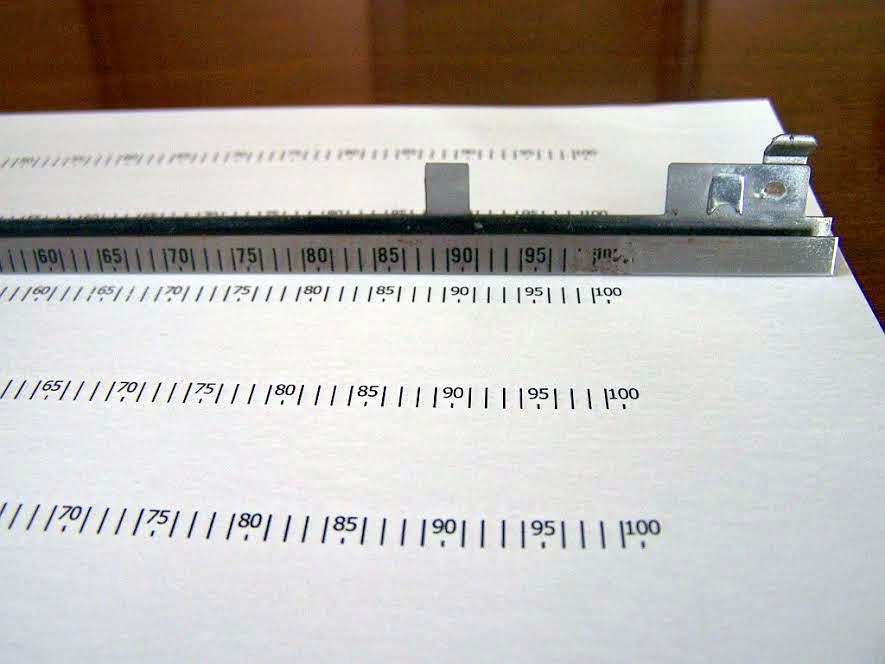
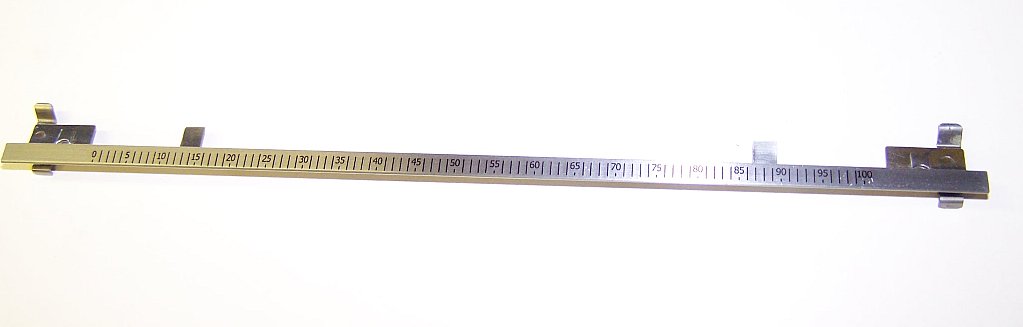
 The Professor’s question to me was if there was any way to clean up the background on the scan he had made of the original Elite paper scale, since scanning black text against a reflective metal background renders this:
 My reply was that it wasn’t really possible to clean this up, but what I could do was import his scan into an image editing program and re-draw the scale, tracing over the original and adding new numbers on a new layer, then deleting the original scan layer to leave just the new traced markings. This was simple enough to do, and took about 15 minutes. Here’s the resulting trace with the background still in place:
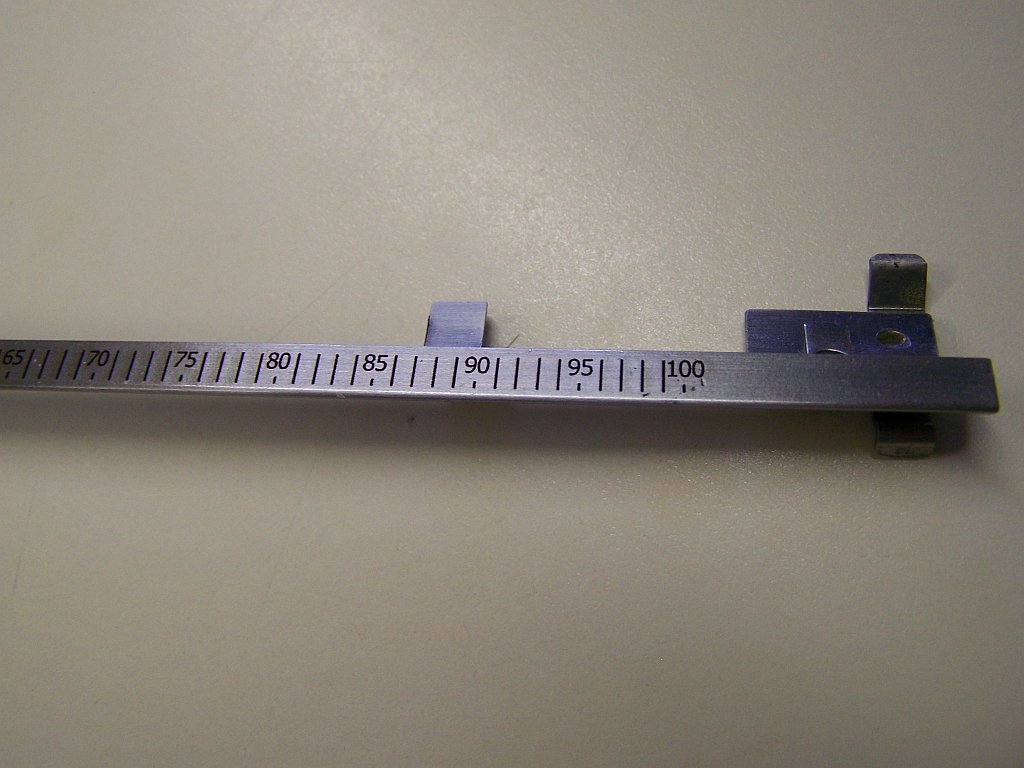
 and then with the background scan deleted:
 My main concern with this method was that I wasn’t real sure that something traced over the top of a scan of a non-flat object would render an exact match of the original scale. This was certain, I felt, because my attempts to copy and paste the first 1/5th of the scale resulted in an extreme mis-match with the rest of the scale. That seemed to tell me that it would almost certainly be wrong. I said as much, but The Professor gave my tracing a shot anyway and printed it out to match up against his original scale.
 It was a perfect match. Color me surprised, but heck, if it works, go for it. Thus, if you try this and are discouraged by the fact that you can’t cut-and-paste your first batch of lines to finish the scale, don’t worry, it apparently still works. just hand-draw all the lines manually in your image editor. I’ll let The Professor take the story up from here:
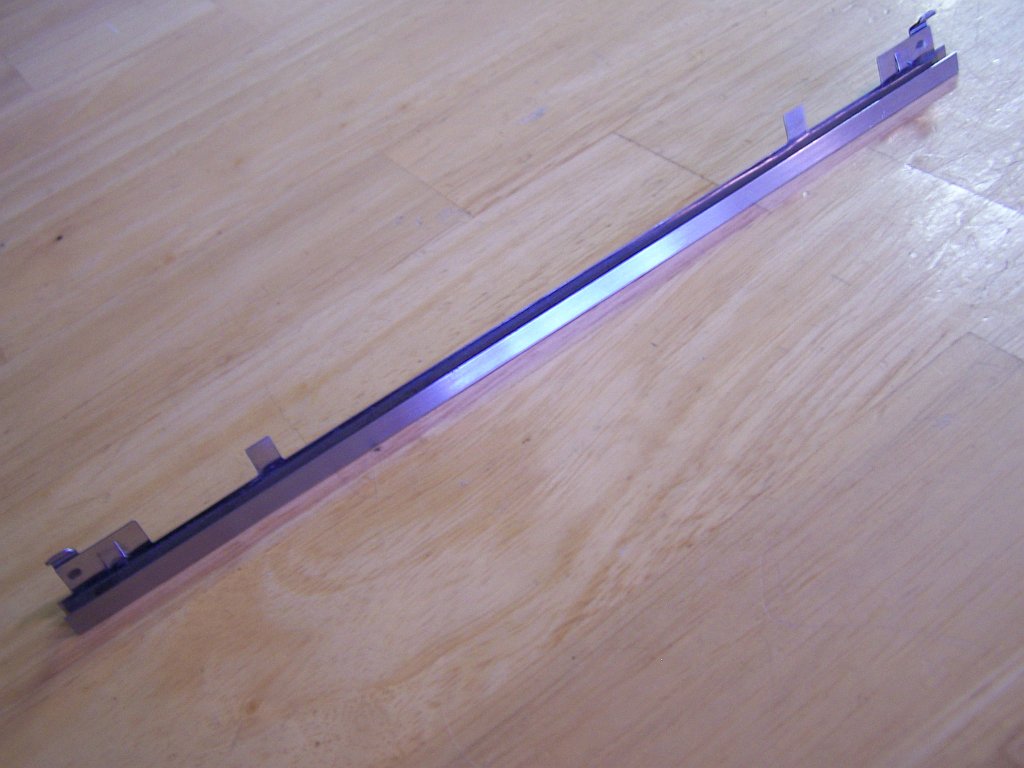
I didn’t want to waste the waterslide paper with just one image, so I took the image you sent me and inserted the image multiple times in a word document, making sure to keep the image original size, then printed it on plain paper to check the scale. The markings matched the old scale perfectly, so I printed it on the waterslide paper. The decal markings still matched length-wise to the old ones on the scale, so I then removed the old markings with paint thinner and a scuff pad. I polished the old markings off the scale and found that it was pitted in a couple places, especially around the 100 position, but continued to polish until the pits were barely noticeable. I cut one of the scales with a paper cutter and noticed that when I handled it, the toner would flake off easily. So I decided to spray the remainder of the sheet with crystal clear enamel and waited for it to dry overnight. The next day, I cut another scale and left extra above and below the scale to wrap the decal over the edges. I then soaked it in water for about 45 seconds and gently applied it to the scale, being careful not to stretch the thin decal. I made marks on the rear part of the scale so I would know how to exactly line up the scale from end-to-end. I gently smoothed out the air bubbles and wrapped the clear edges over the top and bottom. After the decal was partially dry, I used a razor blade to trim off the excess from the ends.
 So there you have it. Here’s The Professor’s Selectric, fully restored now:
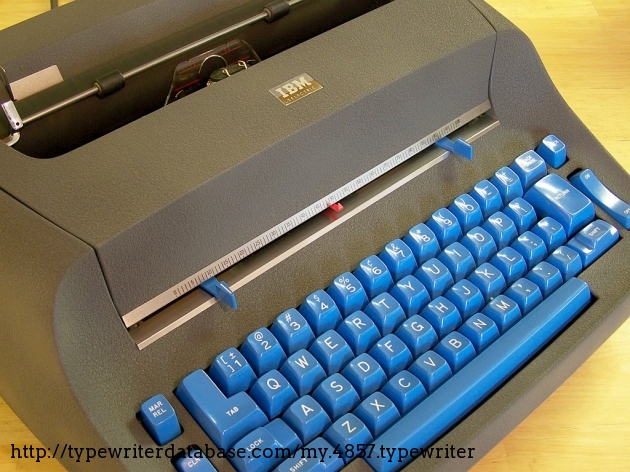
Wow – that restored paper scale looks great – that whole restored Selectric looks great.
I am tempted to experiment with homemade waterslide decals.
Looking nice!
There is no I in TEAM, but there is IBM teamwork. Nice job!
Thanks for all the help, Ted. I discovered quite a bit about the 1961/1962 Selectrics in the process. I recently refurbished another blue-keyed Selectric from 1962 and it had the aluminum scale and lower trim, so the stainless trim was changed sometime in 1962. I was unable to find the correct replacement, so restoring my original scale was necessary. I think it turned out really nice.