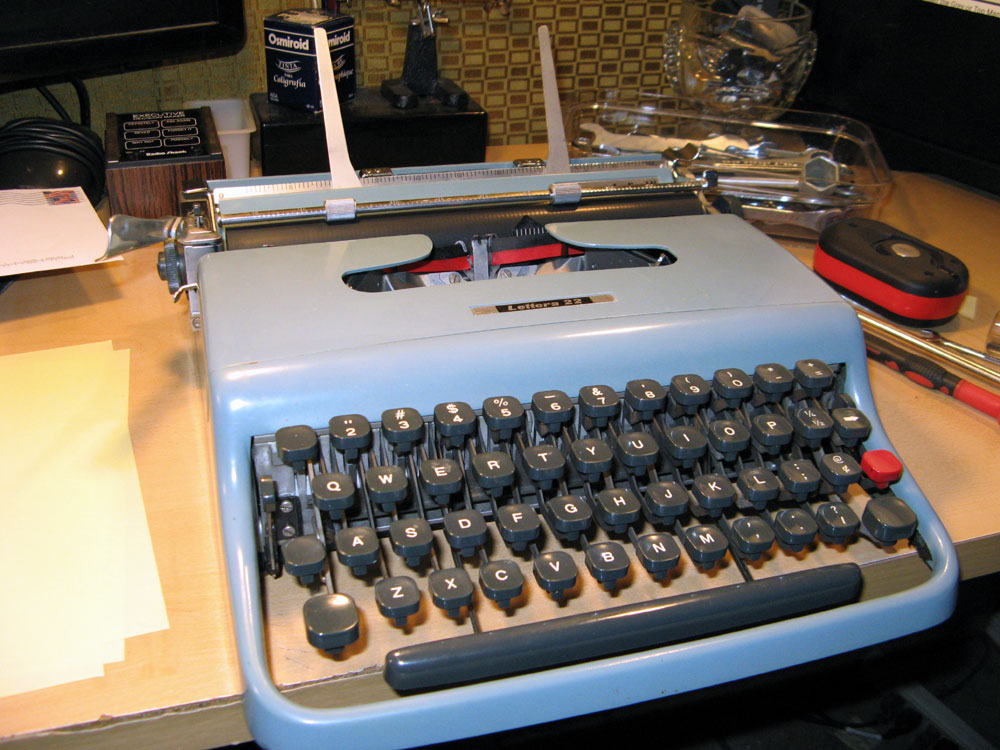
 Weapon of Choice: “Tony” 1960 Olivetti Lettera 22 #749402
 Gerren’s Lettera 22 Video:
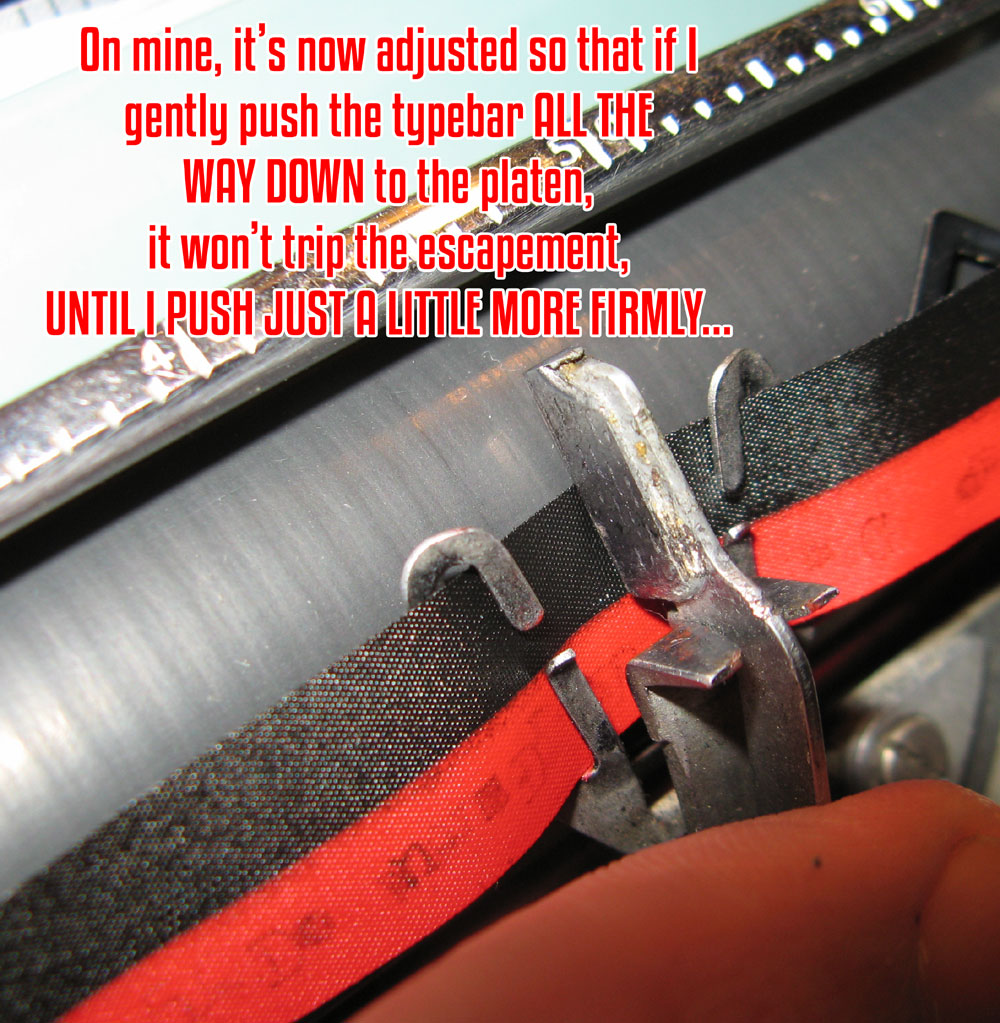
UPDATE: Currently Gerren is re-editing his video to fix some technical issues – I’ll re-link to the new one when he’s finished. In the meantime, here’s some pics of that escapement adjustment:
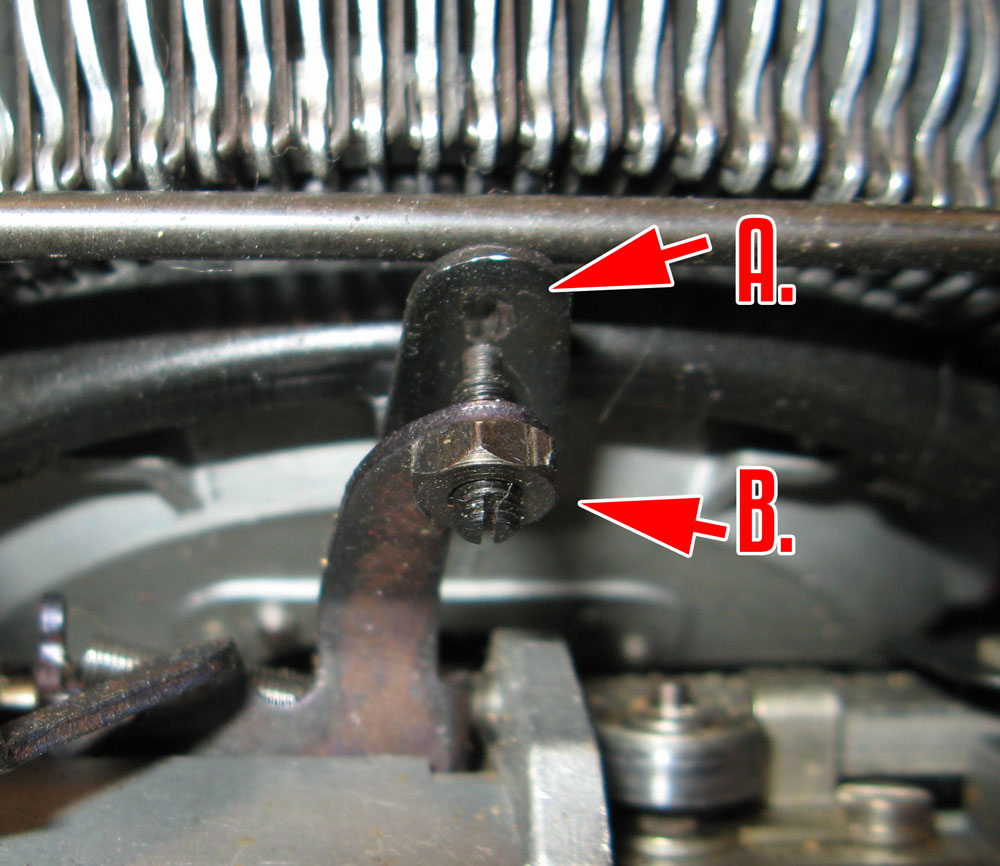 What you will be doing is loosening the locknut that holds screw “B” in place, then backing the screw away from tab “A”, then re-locking the locknut to hold the screw in the new position so that the escapement trips later in the keystroke.
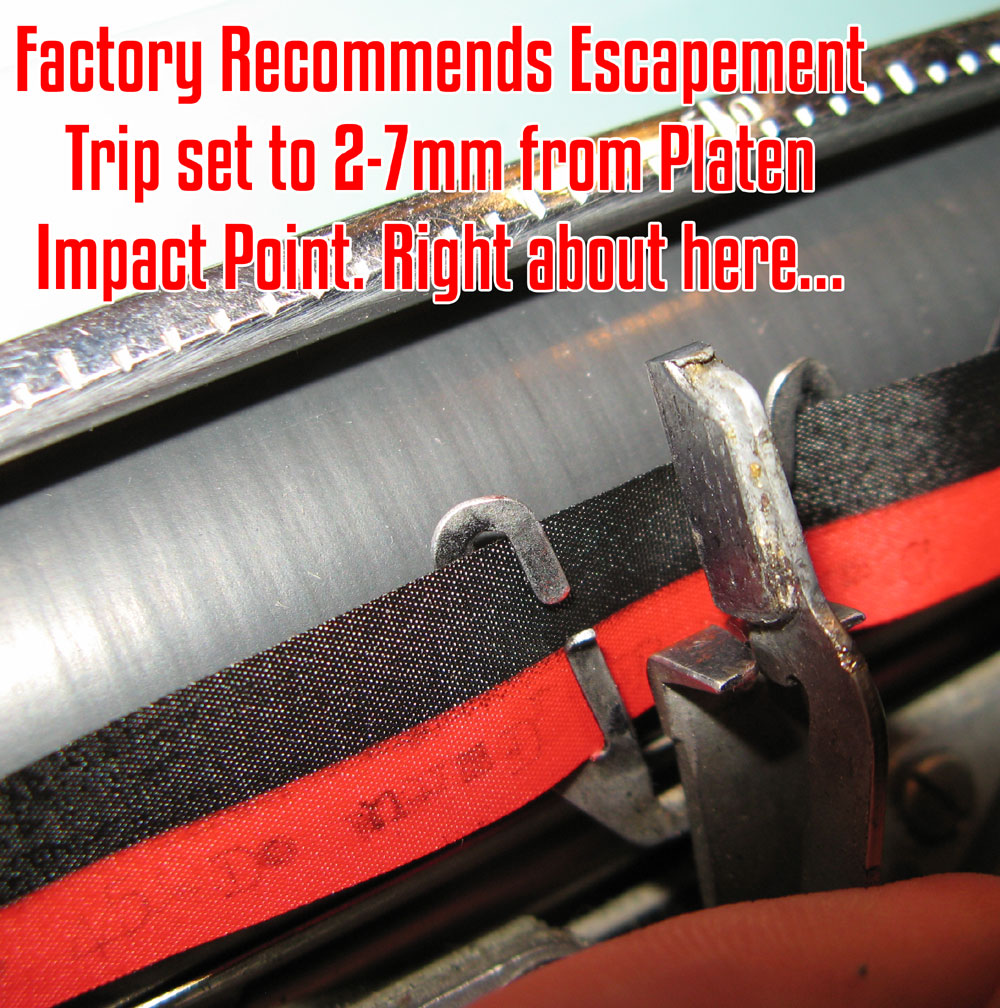
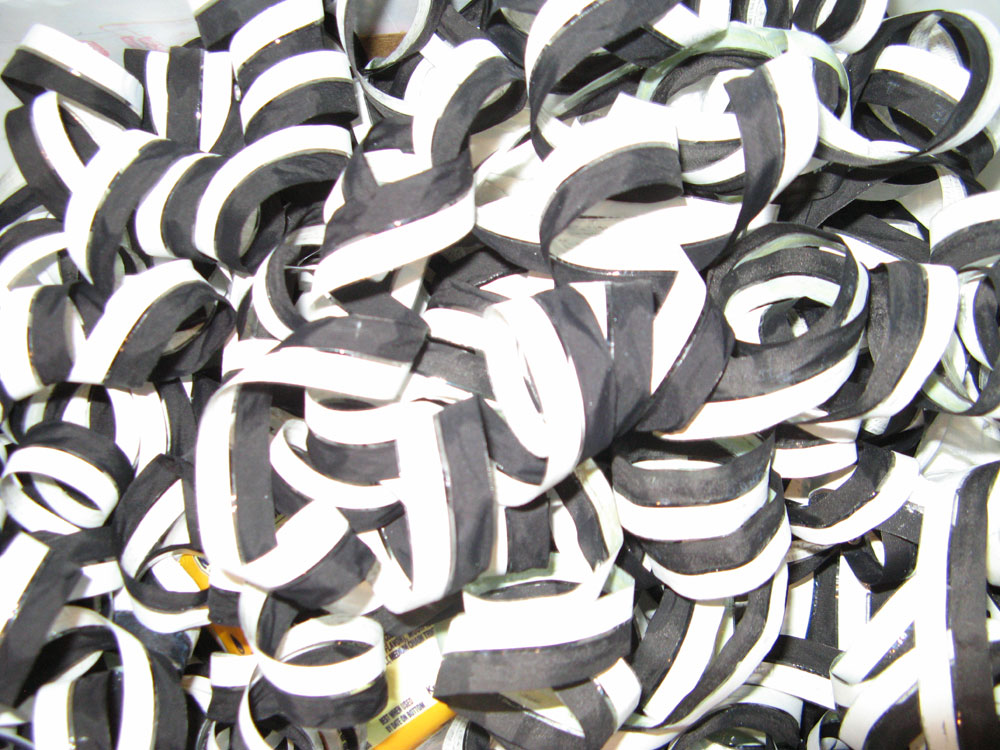 Finally got around to sorting through an old box of junk ribbons that I’ve taken out of machines I’ve gotten over the years. It’s all the plastic-spooled ribbons of course, metal spools get kept in the machine. All them black/white ribbons from the 1980’s? them go right in the trash, but I steal the spools off them.
 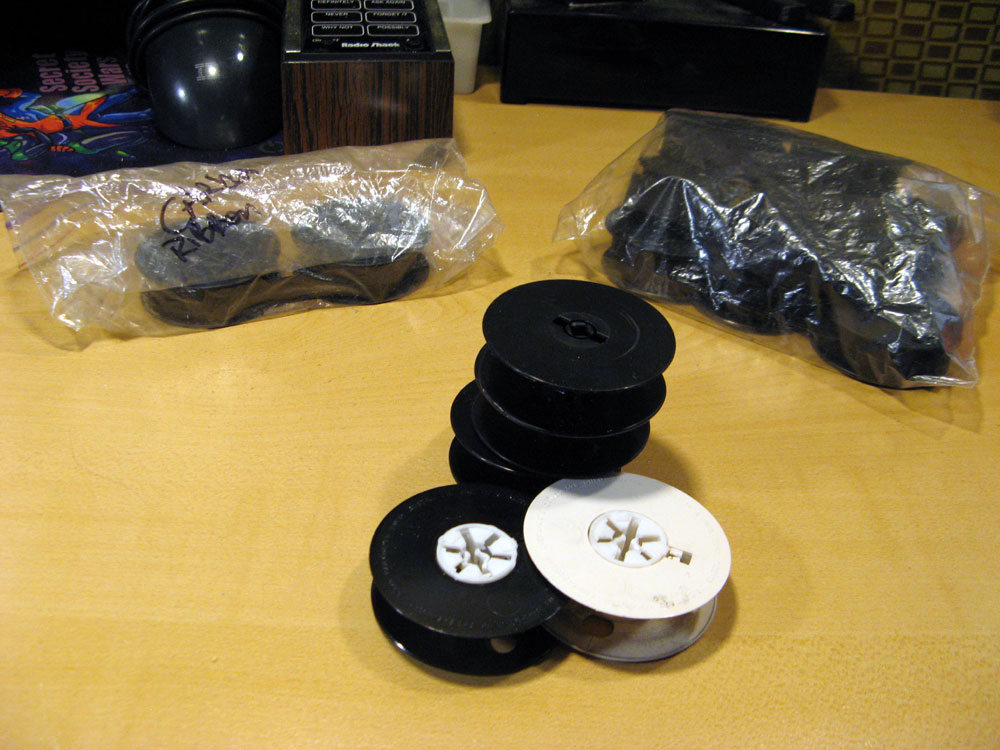 Yield: quite a lot of usable plastic spools, some of them the “Super-Universal ” type that you can punch the center out of and use on those darn Remingtons. Others with springy center post grips – these can be trimmed down to use in Smith-Corona Skyriters & Corsairs. Always handy to have these around.
Very interesting. I know that “dead” feeling on the 22, and I’m cleaning one up right now, so I’d like to watch the video—but it says that it’s been removed. :(
Yeah, I saw that it had been removed some hours ago. If he doesn’t re-upload, I’ll post again, showing the adjustments I made based on his recommendations in the video.
UPDATE: I DM’d him and he’s re-doing the video due to some technical errors he wants to fix – I’ll link to the new one when it comes out. Will be even better! (:
I have been pulling the white correction ribbon off the black inked part and using short strips of the white ribbon for manual correction like those larger sheets of the stuff. It’s not nearly so messy as using it as a ribbon because it’s only in place for a couple of seconds. A little fussy to position but I’m not in a hurry.
I like this idea for using white correction part of the ribbon as correction strips. I will try it when another black and white ribbon crosses my path.
In my brief time with a Lettera 25, it seemed snappy enough. It just wasn’t inspiring to use. Such a bland plastic typer. I think that one ended up in Bob Marshall’s hands.
Some great tips. One issue I ran into is not that the escapement adjustment is off, but that the setscrew part (B) gets bent off of the top part (A). This causes what seems like the carriage jammed. I’ve yet to figure out how that happens.
The setscrew is bent, or it just slips off A intermittently? If the second, I might form Tab A towards the part B, and then adjust the setscrew for the new distance between the two. They should be parallel to each other when the stop hits the tab.
I’m also guessing there must be a lot of play in the Universal bar. I now have mine set so far back that I cannot manually trip the escapement just by pushing the typebar to the platen (hard). This suggests to me that with my stabby typing style, the momentum of the Universal bar leaping off the keystroke alone can reliably trip the escapement. I’ll have to open it up again and see if there are return springs on the U-Bar that might be tightened a loop.
If only I had a 22 to compare with my 32s. They’ve got the softest touch of all my manual ones, so setting the key touch on high creates a little more snappiness for a peasant typing experience. Do you know if the same adjustment you’ve done can be applied to a 32?
Yup, looks like the same deal, except the L32 doesn’t have the setscrew & locknut. Looks like a forming operation. Caution advised. (: