It’s nice having a fellow Typospherian only a few blocks away – handy for having someone around who might just like the machines that you feel guilty about not buying, but just don’t quite want for yourself. Key Snap and I tend to text each other when we see a machine in the thrifts that we may not want ourselves, but think the other one might. It was just such a text which led to me obtaining a hard-to-find Brother JP-12, a machine that I’ve been wanting to examine closely for research on the Brother page.
Not that it’s a particularly desirable machine – the JP-12 is just a rattly plastic-shelled Electric Typebar machine produced for at least a decade or more by Brother between about 1970 to at least 1981 (the date of this machine, verified by serial number and date on documentation). It’s an oddly-designed machine with fat back hips like most of the JP-11 golfball machines I’ve seen, and bizarrely, it’s power-assisted *carriage-shifter* rather than a segment-shifter – this in a machine made in the 80’s!
That said, it does have a nice touch, and if the shifter actually worked and the motor didn’t increasingly whine louder as the machine stayed powered up, I would have done this post as a typecast. I even took the trouble of figuring out how to reload the proprietary ribbon cassette that Brother chose to use for this JP-12 (and on JP-10’s, probably JP-11’s and 14’s as well). Since the machine itself is crap, I guess I might as well just show how I did that, so we get *some* value out of the poor thing.
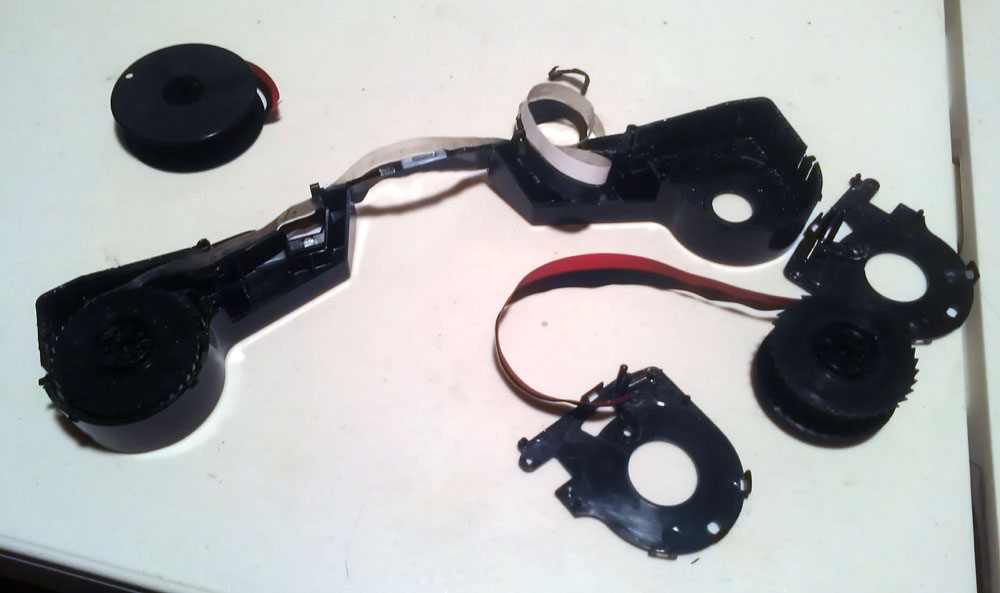
Step 1: take the ribbon cassette out of the machine (it just lifts out) and place it bottom-side up on the table. You’ll notice that the bottom covers are just snapped onto the cassette body with 3 small plastic snap-tabs each. use a small screwdriver to delicately undo these tabs (don’t break them) and remove the covers. The ribbon inside will be one of those nasty black/white correction ribbons. remove it and throw it away, but keep the spools it’s wrapped on.
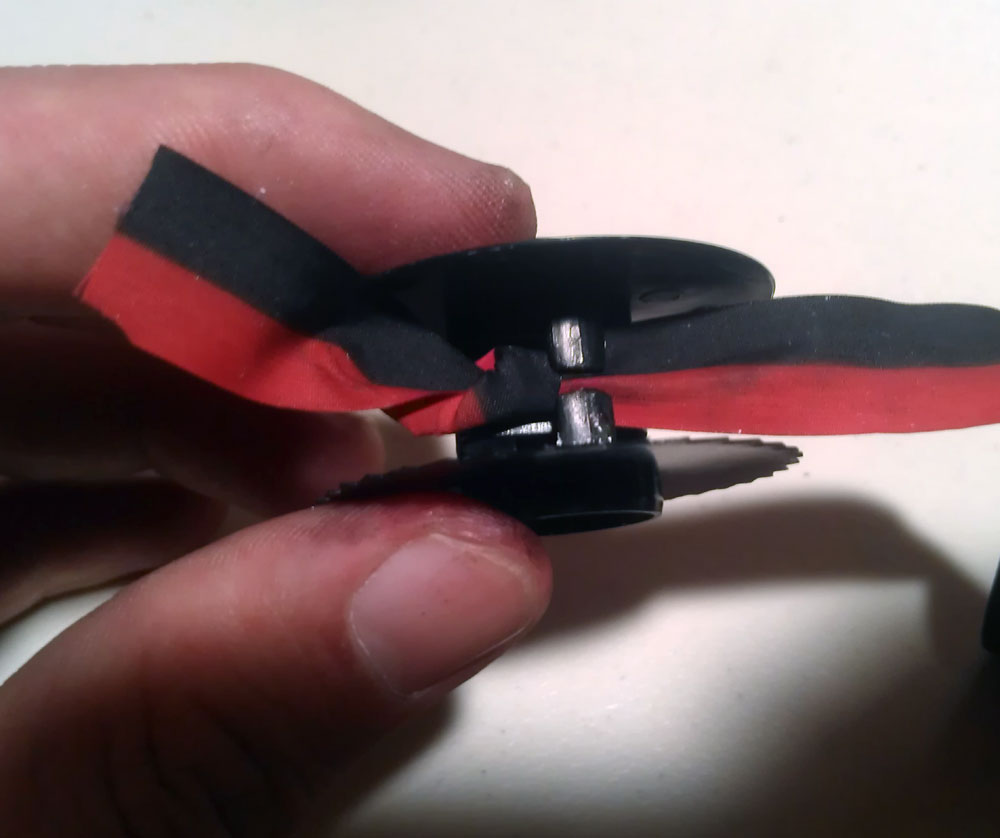
Step Two: Take your new ribbon and tie a knot in the free end. insert it into the cartridge spool like so, red end facing the sawtoothed side of the spool. Wind as much of the ribbon as you can onto the spool and cut. The cartridge spools are small, so a full-sized ribbon will have a few feet worth left over.
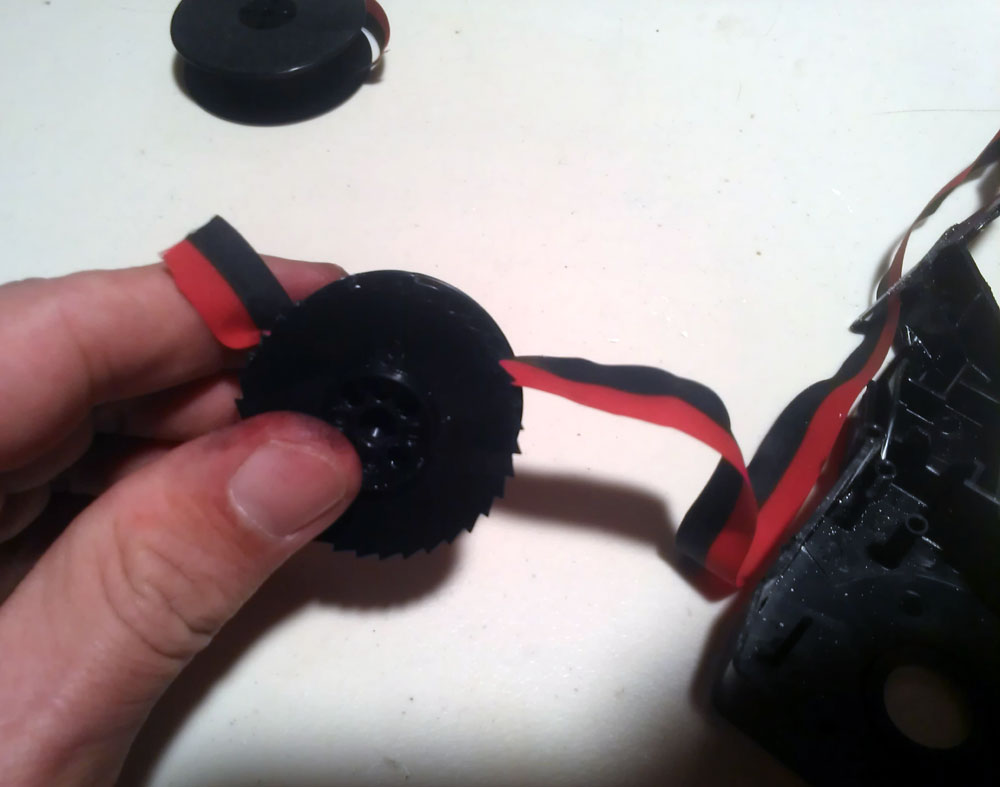
Remember, red side towards the sawtooth side of the spool! note that the machine itself can’t use the red because mechanically, the machine is set up to use that side of the ribbon only in “correction” mode. Note also, that the Correction Key won’t do what you expect anymore. :D
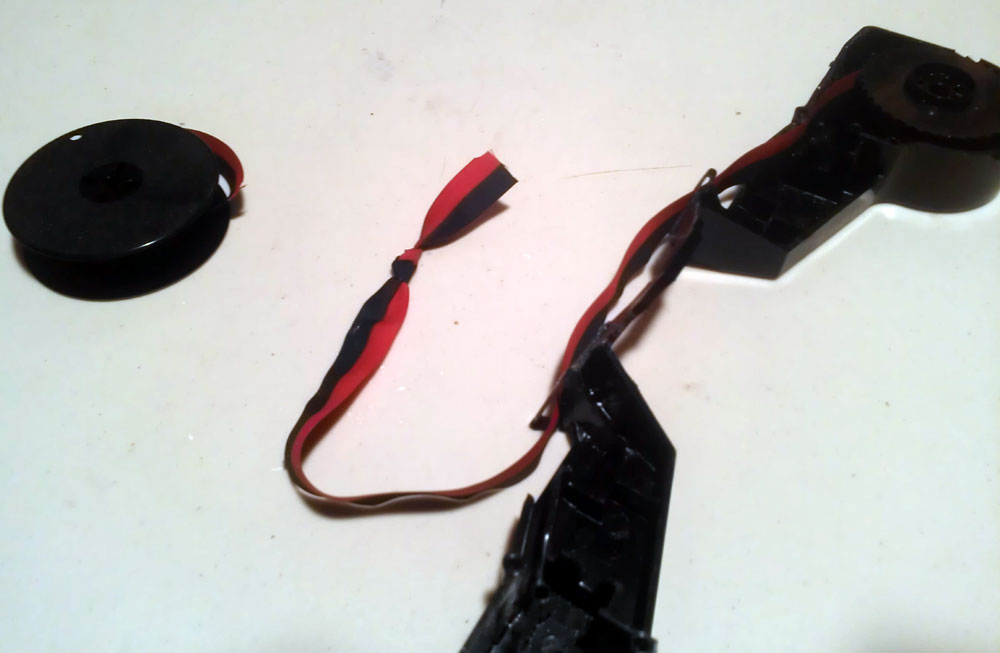
Step Three: thread the free end of the ribbon through the closed guides in the cassette, then tie a knot in that end and attach to the other spool, red side towards sawtooth edge of spool.
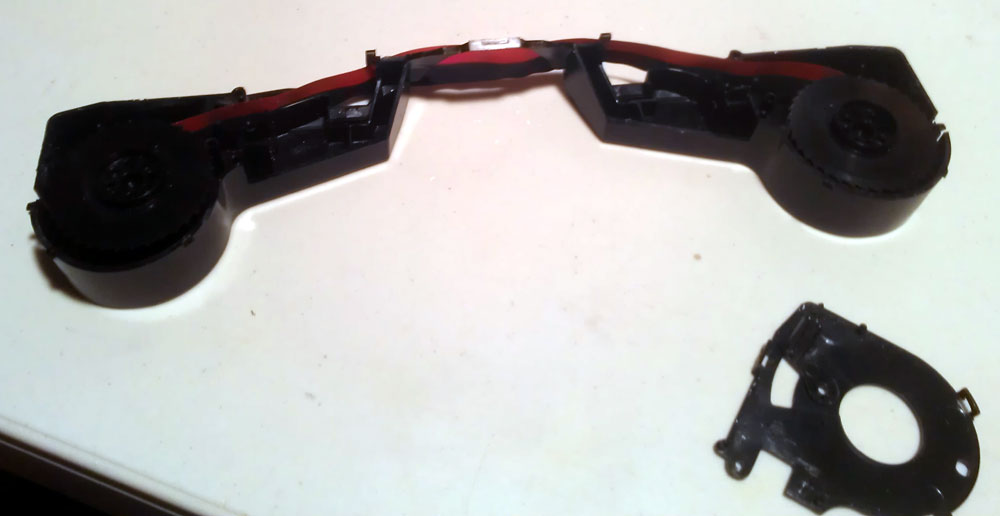
Step Four: when everything looks properly threaded, just snap the covers back on (carefully! they’re small and delicate!)
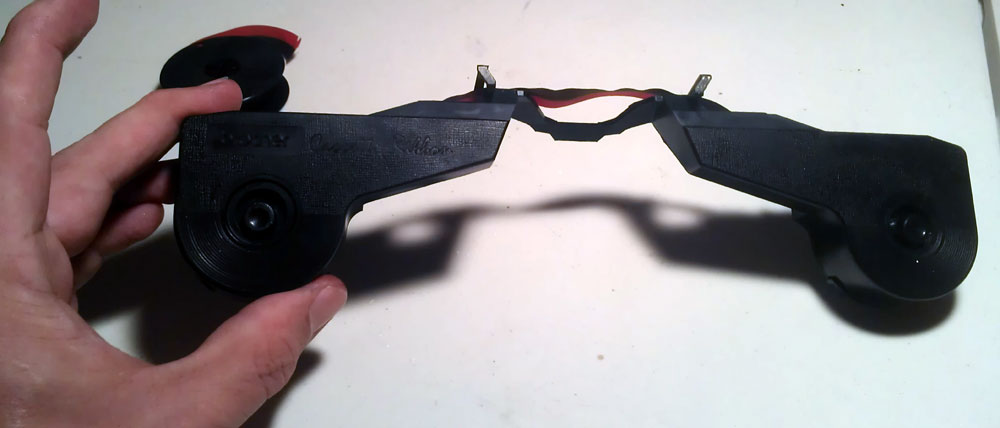
Tada! One freshly-reloaded Brother Ribbon Cassette! I suspect you could keep doing this over and over to replenish the ribbon, assuming the machine itself still works and you like it enough to care about having a fresh ribbon in it. I seriously doubt anyone on earth actually has new replacement ribbons for these machines. They were likely discontinued at least a decade ago.
I never gave a thought to taking one of those cartridges apart. I passed up a few typewriters that used them.
I’ll have to dig up one of those SCM plug-in ribbon cartridges and see if you can do the same with it. I’m sure someone eventually will want to keep these things ticking, so it’s worth knowing.
Stinks that it’s not really useable. I know it’s silly, but I get a little depressed when I pick up a machine and it isn’t fixable (or isn’t worth fixing). It was good of you to document reloading the cartridge, though!
me too, but I’ve learned to live with disappointment when it comes to electric typebar machines. The docs, dating info and what I learn from dissecting it will be worthwhile, I think.
DeBarth (and possibly others) sell a retrofit kit to install a standard open-spool ribbon in Brothers that use this ribbon cartridge.
It’s kinda pricey, but if you have one of these that you just *love*, then this is the ticket.
http://www.debarth.info/dbcConversion.htm
-Clark
What kind of replacement ribbon did you use? Could you do this with correction ribbon as well?
just regular old red/black calculator ribbon, it’s the same size. Yes, you can do it with the black/white correction ribbon, which is what was originally in the cassette.
Where do you find those??
I have a Sears Commentator portable typewriter that takes this cassette
ribbon. Can they be purchased anywhere? Re-spooling seems like a major
task.
not that I’ve ever seen. I didn’t really look that hard though. The machine wasn’t worth the expense, I only bought it to get a JP-12 user manual for the archive, and considered the ribbon respool to be an entertaining challenge. :D
Munk – Thank you for documenting this. I try to rescue whatever I can from the landfill and this week it is one of these typewriters. My replacement ribbon is on the way however I am concerned about getting it back together because there are lots of loose parts inside the cartridge. On one side I was able to get it apart without dislodging everything so I’ve taken pictures…so there is hope. The only piece I am not sure of are the springs. I know it goes near the cartridge “door” but by any chance do you have any pictures of it’s orientation?
I was having the same problem, no idea where the extra pieces go :/
Sorry, I haven’t had this since 2014, so I have no further info. /:
Did Brother ever use carbon film in this setup in an attempt to counter SCs carbon cartridge?
Not that I’ve ever seen. Mechanically, it would be kind of inefficient, because the system has built-in ribbon reverse (don’t want that for carbon) and the spools are *tiny* and wouldn’t hold enough carbon ribbon for much more than 3-4 pages.