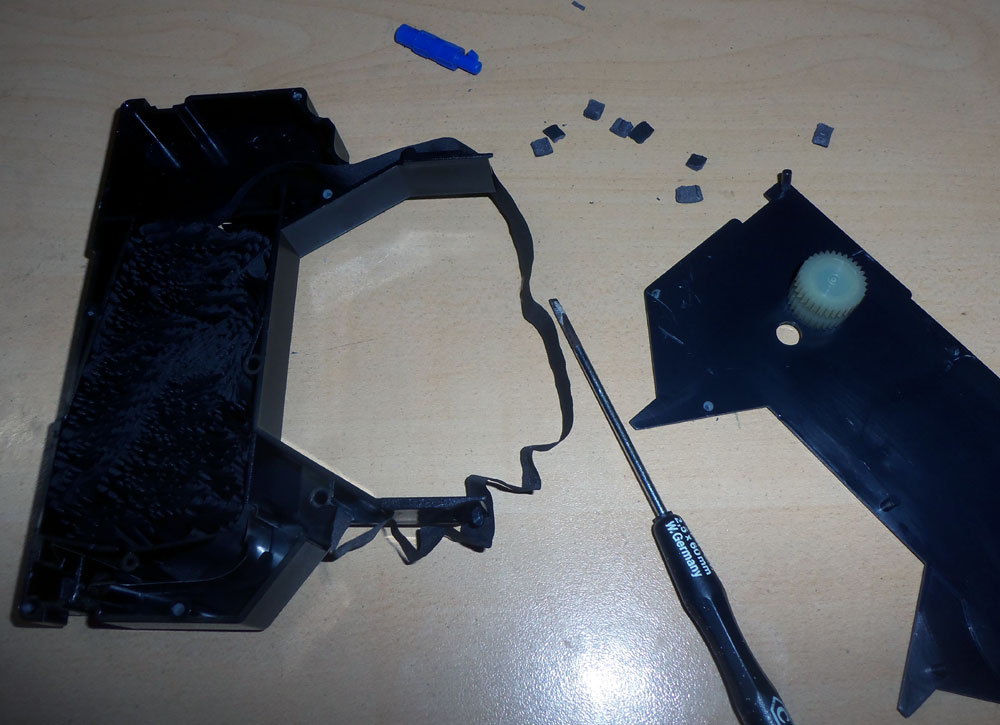
Ahh, Cloth ribbon cartridges meant for electronic daisywheel typewriters, AKA “Multistrike” ribbons. They do exist but are fairly rare, so when you do find one, it’s certainly worth the trouble to restore them to functional condition. The main problem isn’t that the ribbon is invariably dry, though- the biggest problem is that the internal transport mechanism usually has old foam rubber rollers that are flattened and ready to crumble at the slightest touch. First you need to use a screwdriver to jimmy the top off the cartridge. You’ll probably break some of the tabs, but as long as you have a few tabs still intact, the lid will go back on just fine. While you have the lid off, carefully spray a little bit of WD-40 onto the exposed ribbon, getting it lightly soaked in, but not so much that you leave a pool of WD-40 in the bottom of the cartridge. This will re-activate the ink in the ribbon once you let it soak in over a couple of days.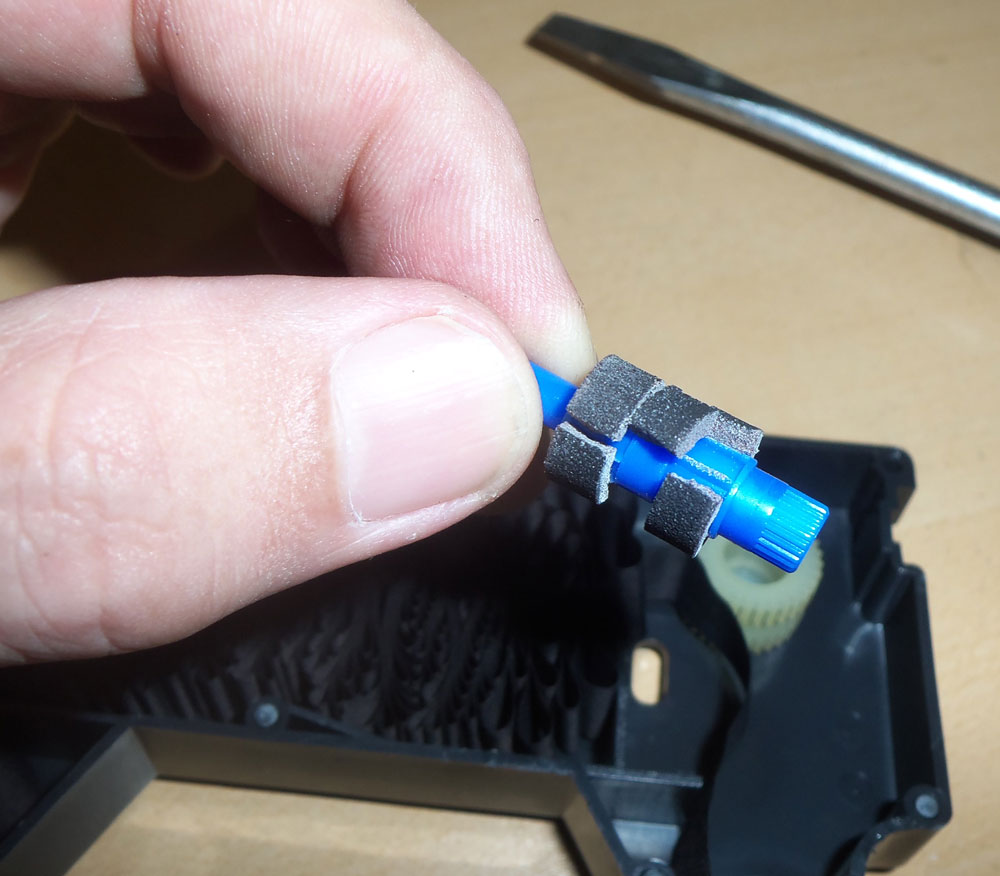
Yeah, that right there is the big problem we’ll have to fix before the ribbon will work again. Pull the old rubber off of the roller and throw it away. Then go into your parts box and dig out a couple of the rubber grommets you usually use to replace the ribbon cover grommets on old Brother JP-1 and Royal Mercuries. You’ll need 2.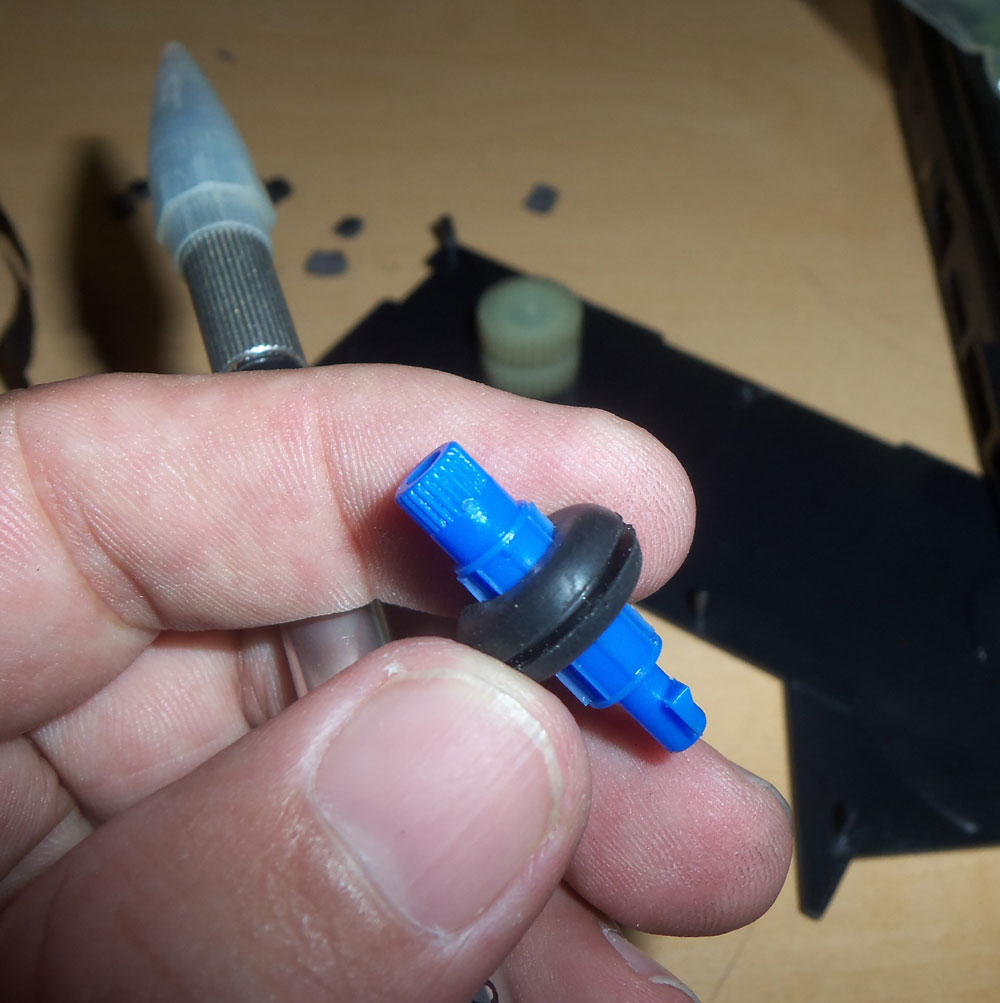
Press the two grommets onto the ribbon transport gear and trim the excess rubber so it’s close to the same thickness as the original rubber bits.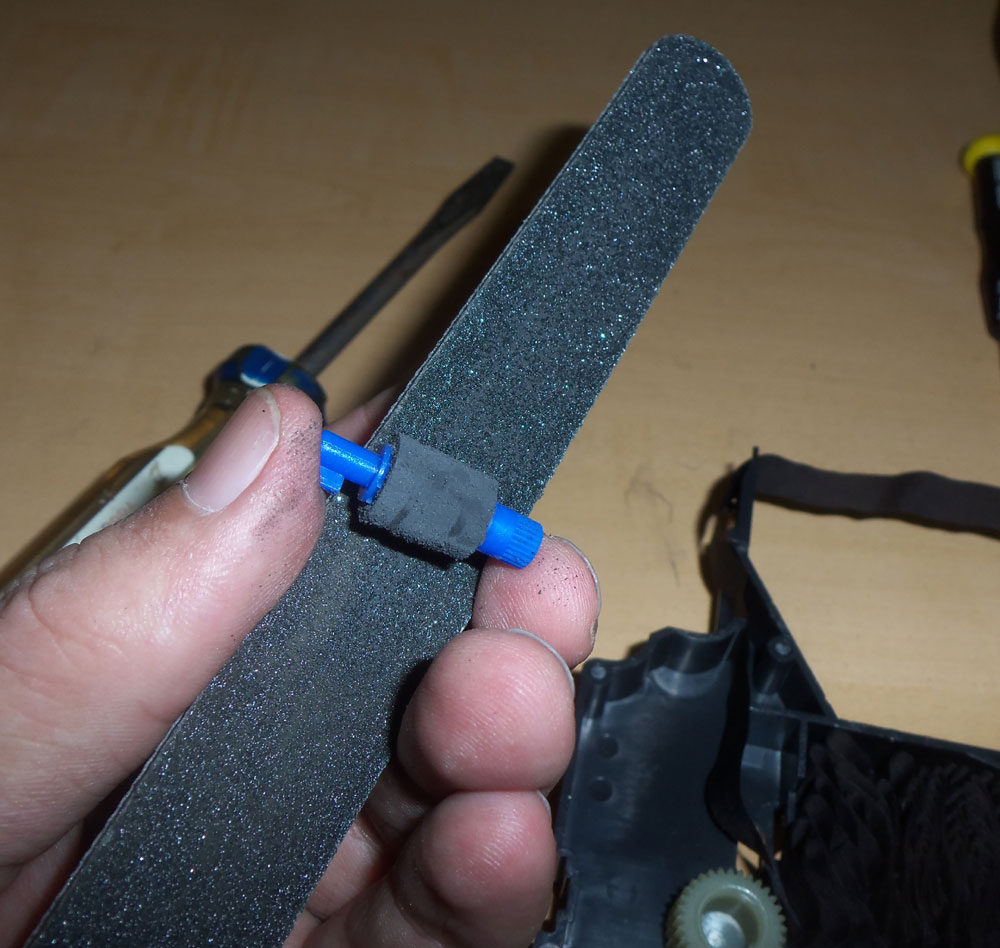
Use an emory board to sand down the sharp edges and round the rubber to the right size.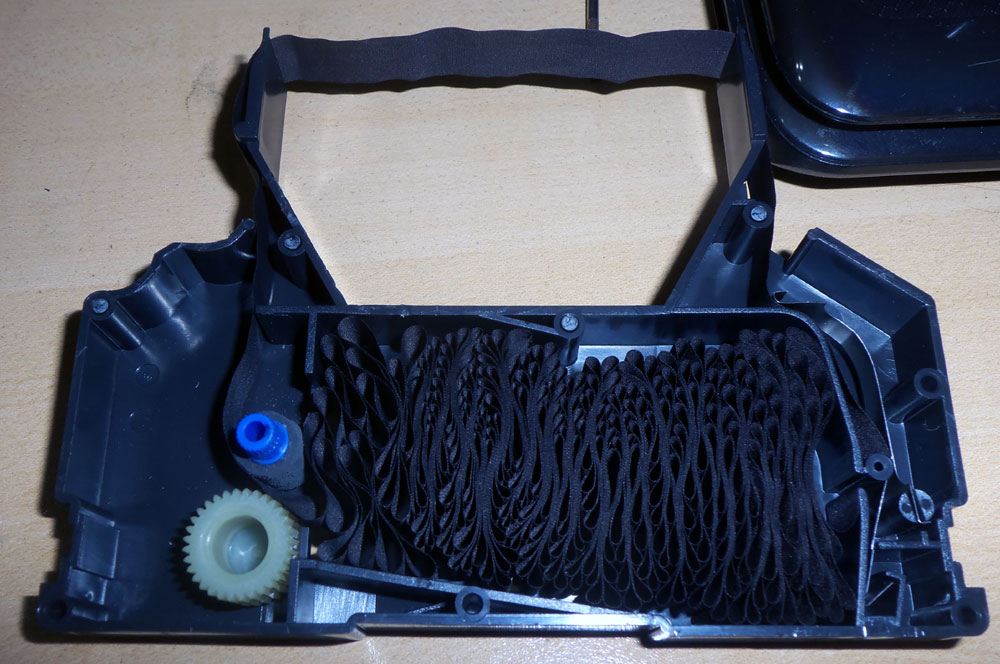
Re-install the gears, making sure they have good contact, but not so tight that they’re hard to turn – if they are, sand down the rubber a little more until they turn fairly easily but still firmly grip the ribbon.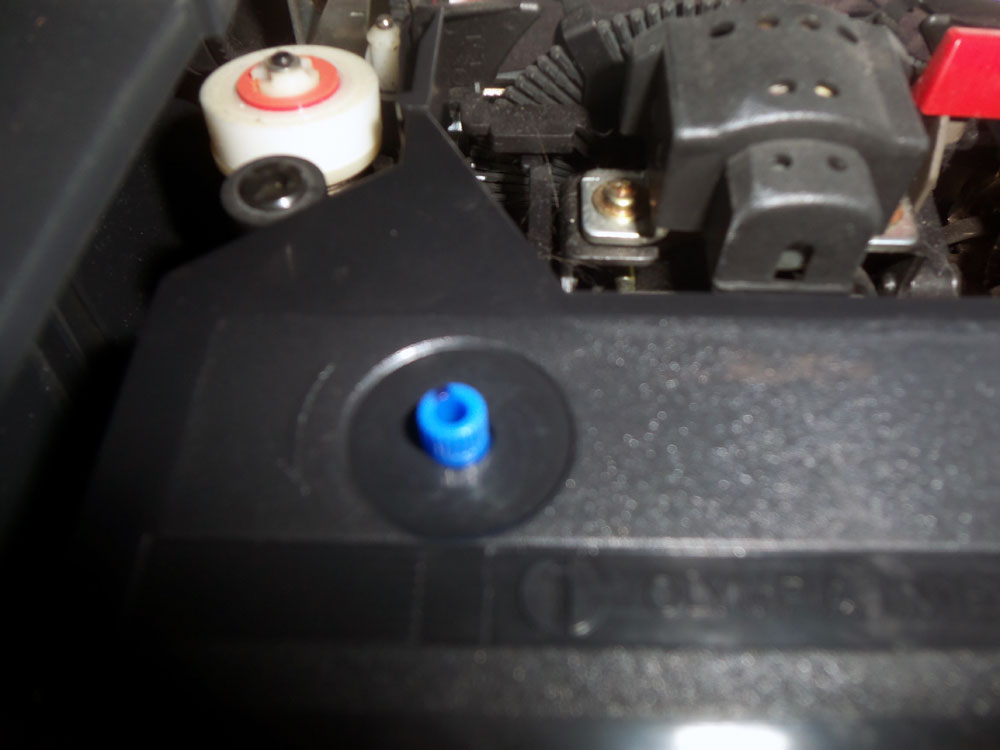
Put the top back on the ribbon and install it in the machine. I will mark a spot on the transport gear and observe it as I type to make sure it’s turning smoothly. That’s it – once the WD-40 soaks in the ribbon consistently over a couple of days (be sure to type a bunch of throwaway text on it over those two days, so the exposed part of the ribbon gets a chance to soak too) then the ribbon should be good to go, and the internal transport mechanism should last many more years with the new rubber. Heck, I bet you could even completely replace the ribbon with fresh ribbon if you could figure out how to loop it and get it all fanfold-stuffed into the center like the factory ribbon is…
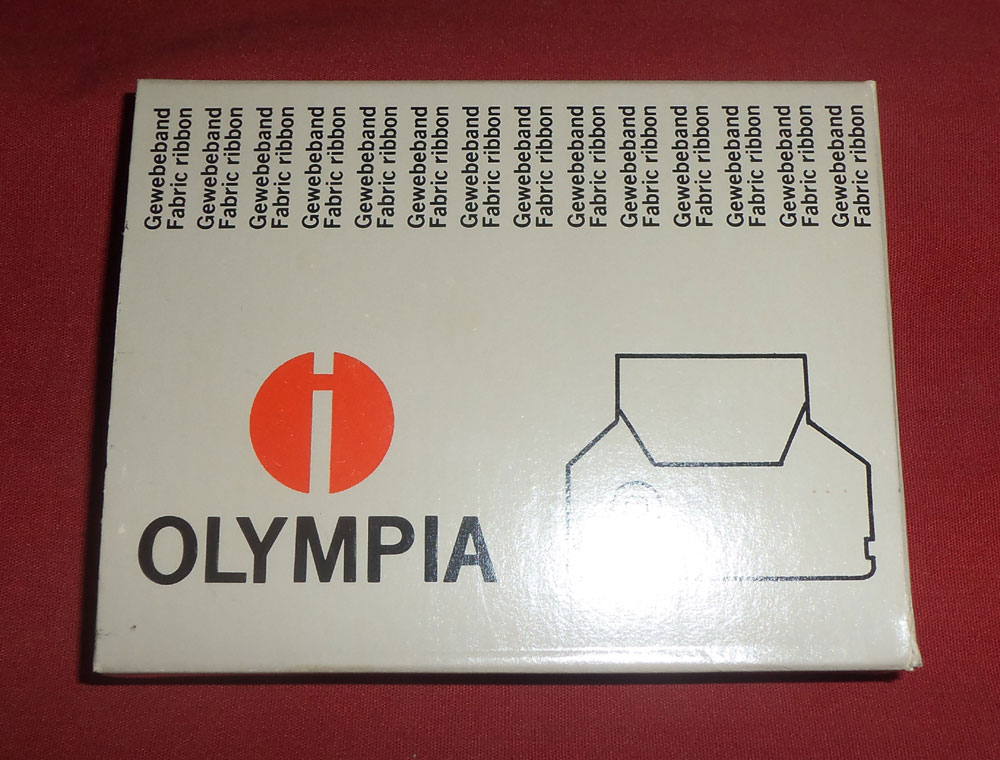
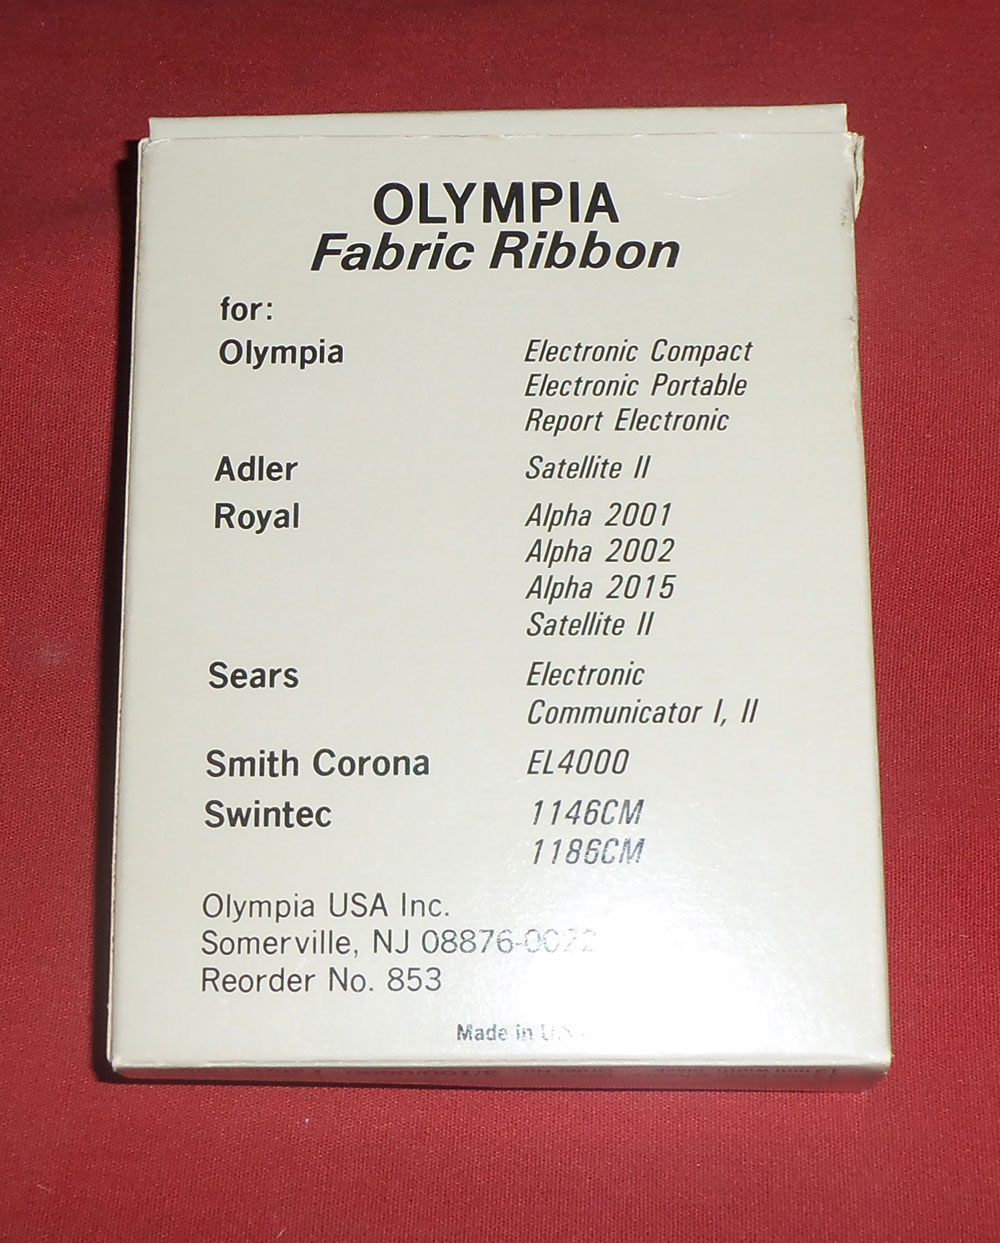
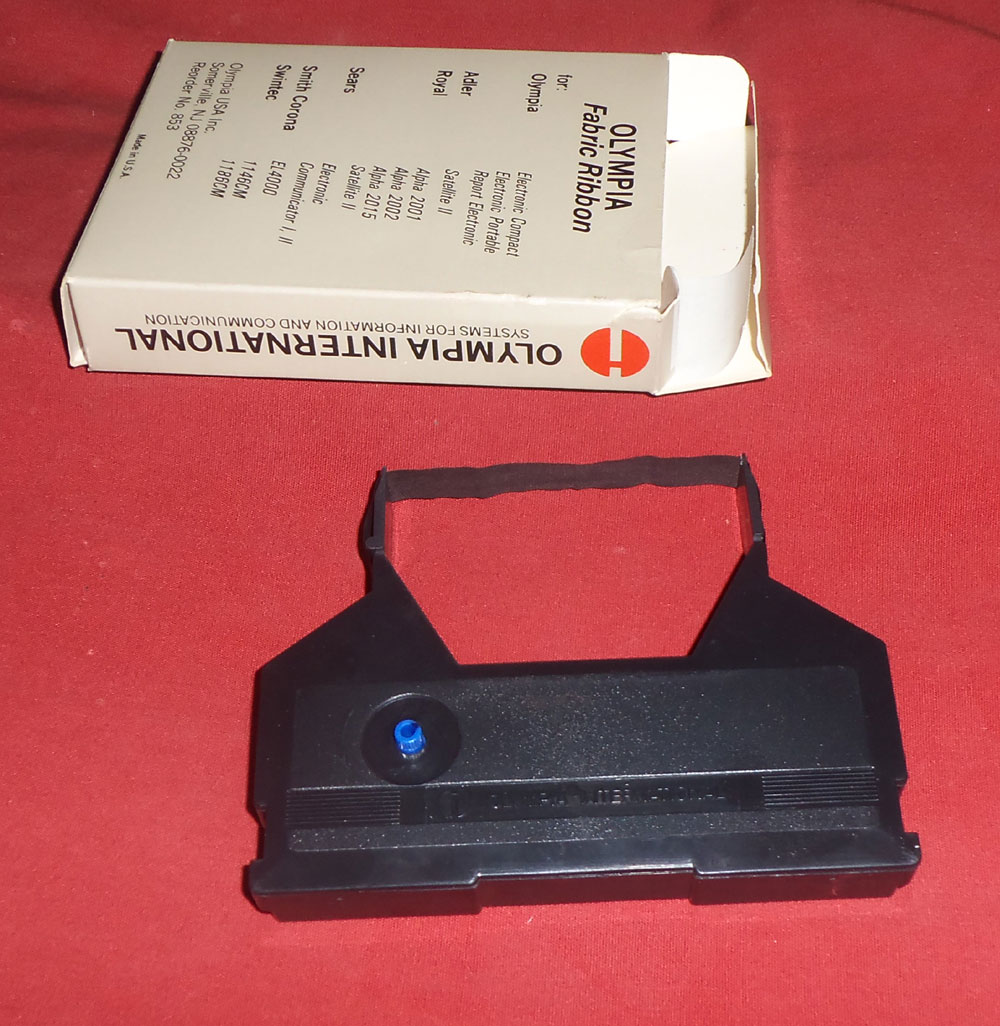
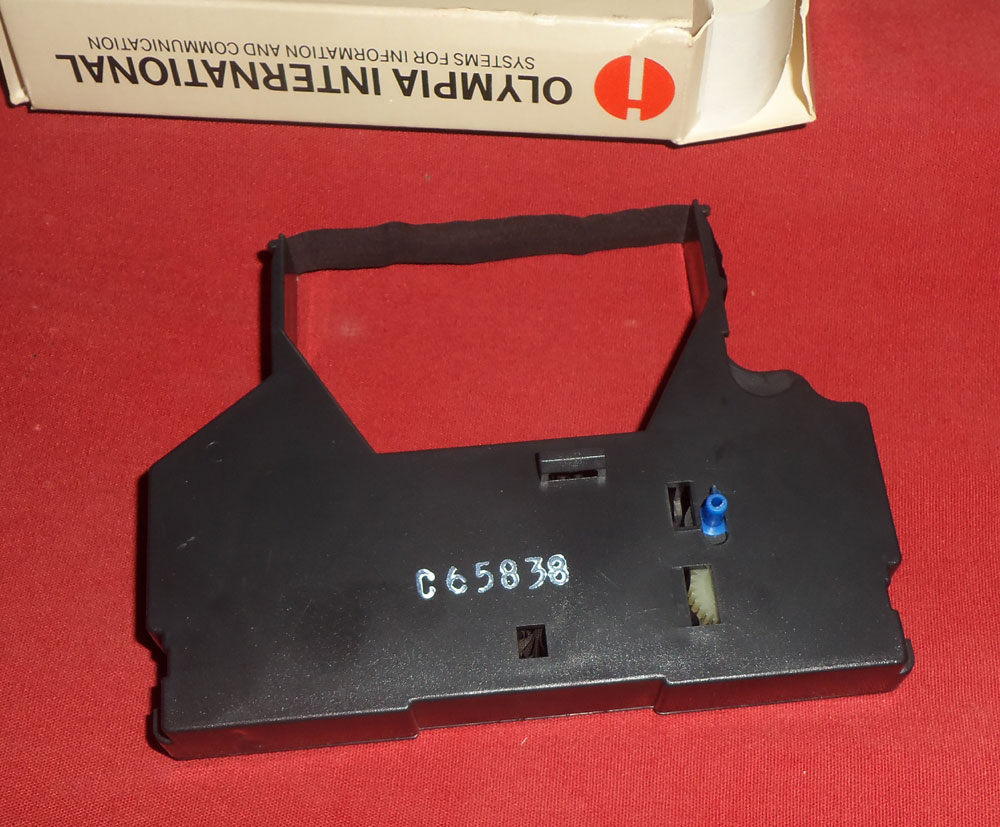
Now, some photos of the box and assembled ribbon in case you want to find some yourself. Keep in mind that while this is an Olympia branded ribbon, the machine it fits is a super-common Nakajima of the mid-eighties that was sold under about 100 or more different badges and brands from Olivetti to Royal to Sears to Olympia to Adler to etc,etc,etc.. They all use the same ribbon, though.
Good work with the grommets. I’ve always stayed away from those machines specifically due to the cartridges.
Clever!
So resourceful – nice use of modified grommets. I have accumulated quite a collection of rubber grommets – they come in handy in all sorts of situations. Also: the fan-fold state of the ribbon is pretty wacky. It seems like it would dry out faster in that configuration.