Ahh, the joys of a dead hard drive full of stuff you need. Well, that happened to me a few weeks ago as I was copying stuff to my “working files” hard drive in preparation to make a backup. As I copied files, a spark arced out of the drive dock that I was copying to, and the drive vanished from the desktop. Best I can figure, the dock’s voltage regulation circuit had failed and overvolted the drive docked to it – frying the interface power pins on the drive’s controller card. I pulled the drive out and pulled off the controller card (T7 Torx screws, btw), and sure enough, telltale burnt pads were evident.
Well, that’s a bummer, but it’s better than an actual mechanical failure on the drive as far as data recovery goes. A problem with the internal mechanics of the drive (re: “Click of Death”) is best resolved with specialized tools in a clean room, while a problem with the controller card can be fixed by replacing the controller card… With one caveat: you have to unsolder a very small IC chip from your original controller card and solder it onto the new controller card. That chip is a sort of BIOS memory chip that holds the hard drive mapping information, and that info need to match what is written to the drive platters. A quick ebay search and I won a bid on a matching salvaged replacement controller card.
So the new card arrived a while back, and now it’s time to do the brain surgery on the card and pray that I’m addressing the actual failure and that my surface-mount soldering skills are up to the task.
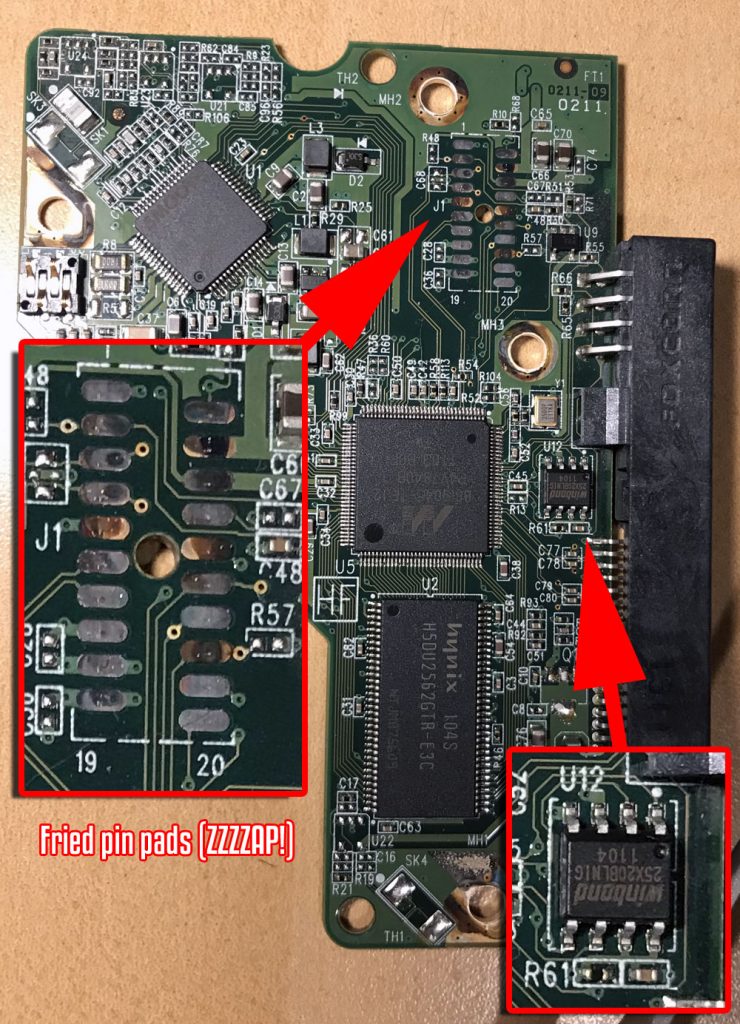
Here’s the failed controller card, showing the burnt interface pads and the Winbond 25X20BLNIG 4kb Serial Flash Memory chip (made: April 2011).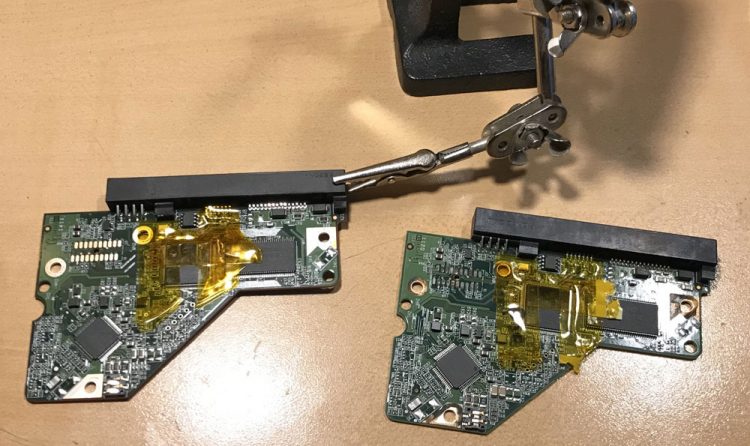
Taping up both boards with heat-resistant Kapton tape in preparation for heat-gunning the memory chips off of both boards. You really don’t want to accidentally blow off those sugar-grain sized resistors and diodes packed tight in the working area. Don’t mix up those chips, and do remember which way the chip goes on the board as you swap them out!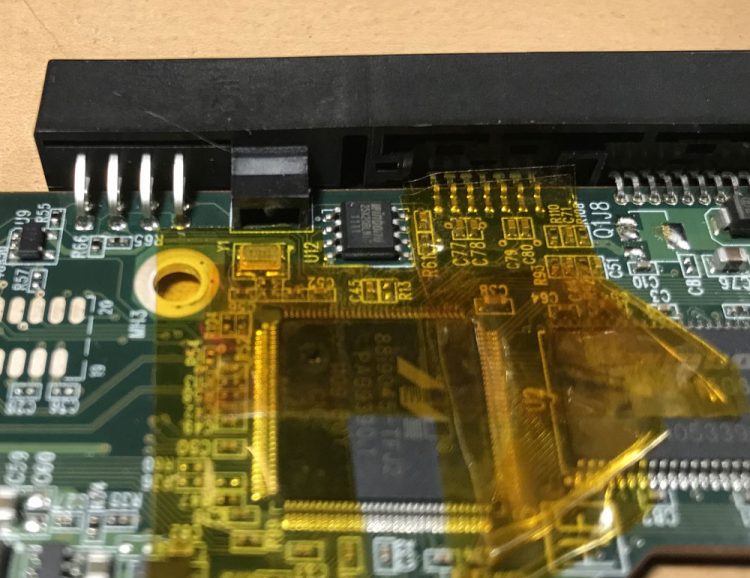
When dealing with surface-mount soldering, rosin is your best friend. Apply it liberally when soldering the chip back on, and use sufficient solder. You’ll end up with a blobby mess, but then you wick away the excess solder and it’s like a magic trick how the solder flows just where it needs to go and the excess cleans up easily. Then just clean up the rosin with isopropyl alchohol. Looks like a pro did it! (: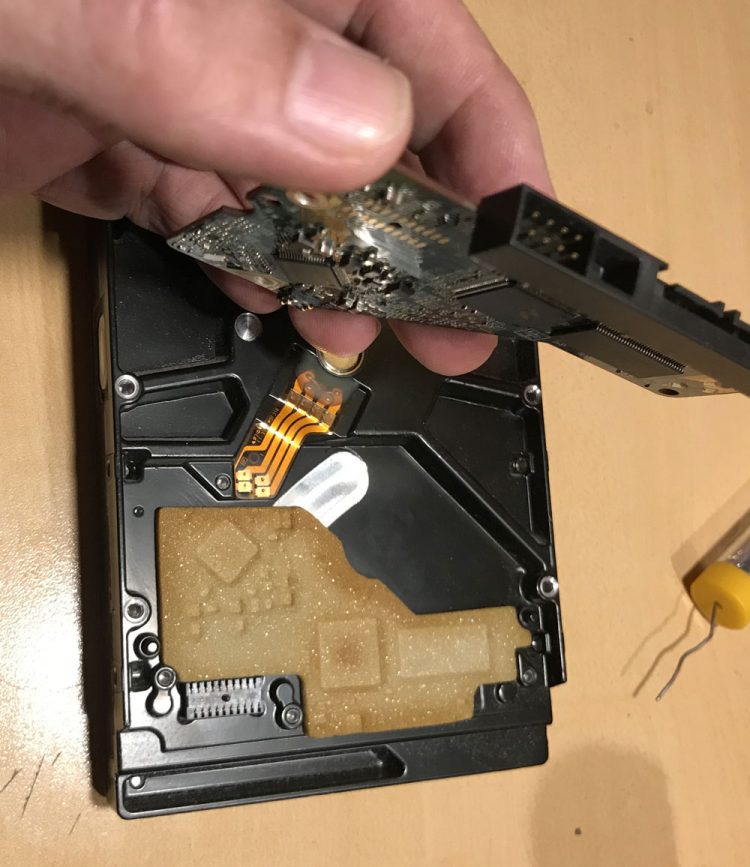
Let’s clean the contact pads on the new board with alcohol as well, then re-install the controller card…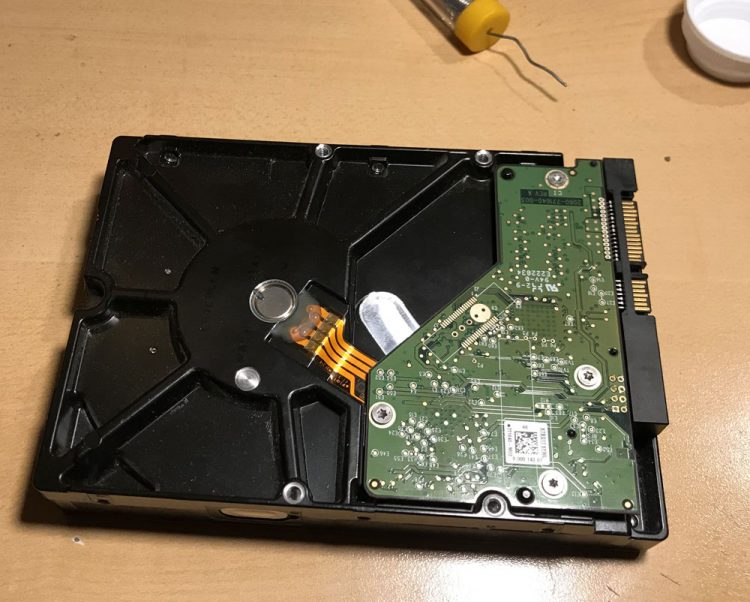
And now I plug it into a new drive dock and check if it comes up – and YES! It works! (not pictured, I wanted to copy stuff right away.) Mission Accomplished! :D
This is why I have backups of the backups of my backups (I don’t possess your skills n know-how) ;)
I would have just cried for the loss of everything good in the world, then moved on… after a fair amount of woe-is-me moping.
That’s why I make these posts – problems can be broken down and solved in sections. Much better than being overwhelmed by the whole. (:
Oh, the joys of surface mount components. I’ve yet to try and swap controller card components, but I have swapped boards to make failed drives work. I was no trying to preserve data though. Nice work. Congratulations.
Yuh, I needed the datums, so surgery was required. As it is, I have got everything off it except for one directory – the one I was copying to when it zapped. I got 3 files out of it and now it just gives me a data error even trying to open the directory. I think I’ve lost some letterhead designs I made last month. Still better than losing the whole drive. :P