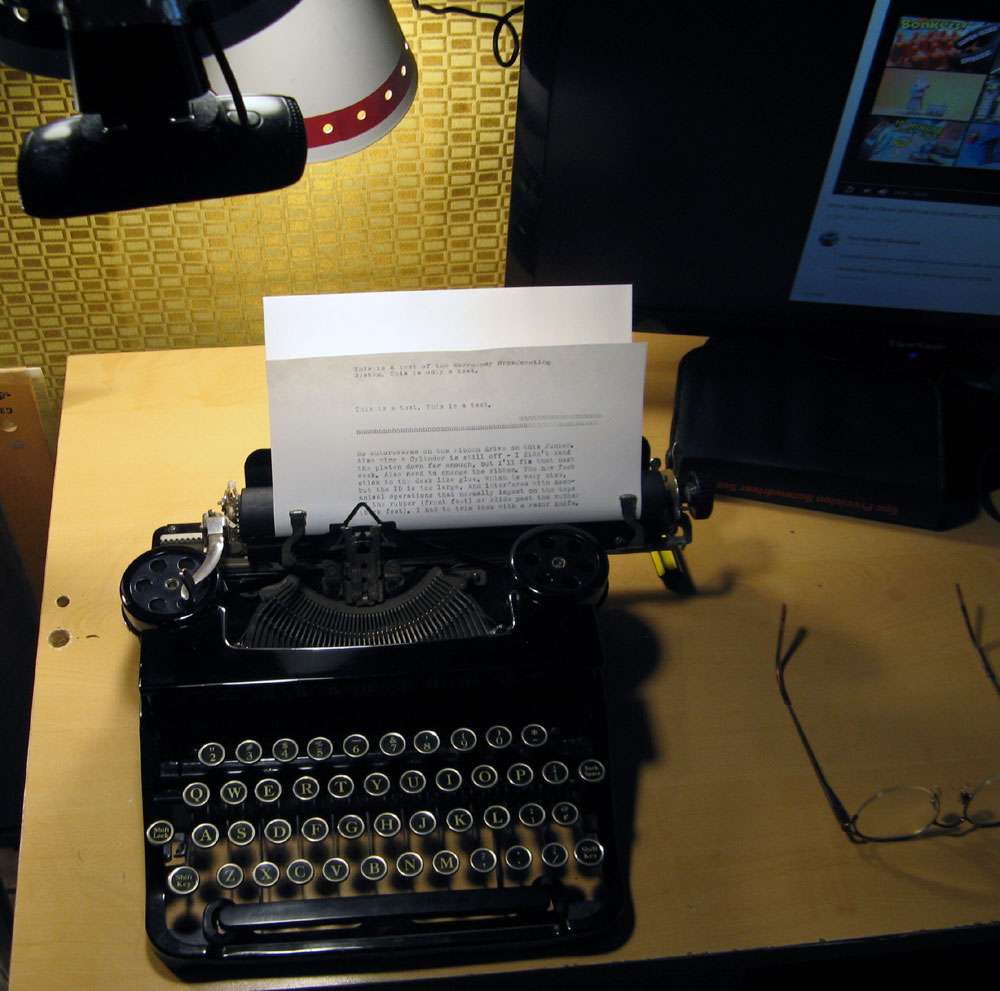
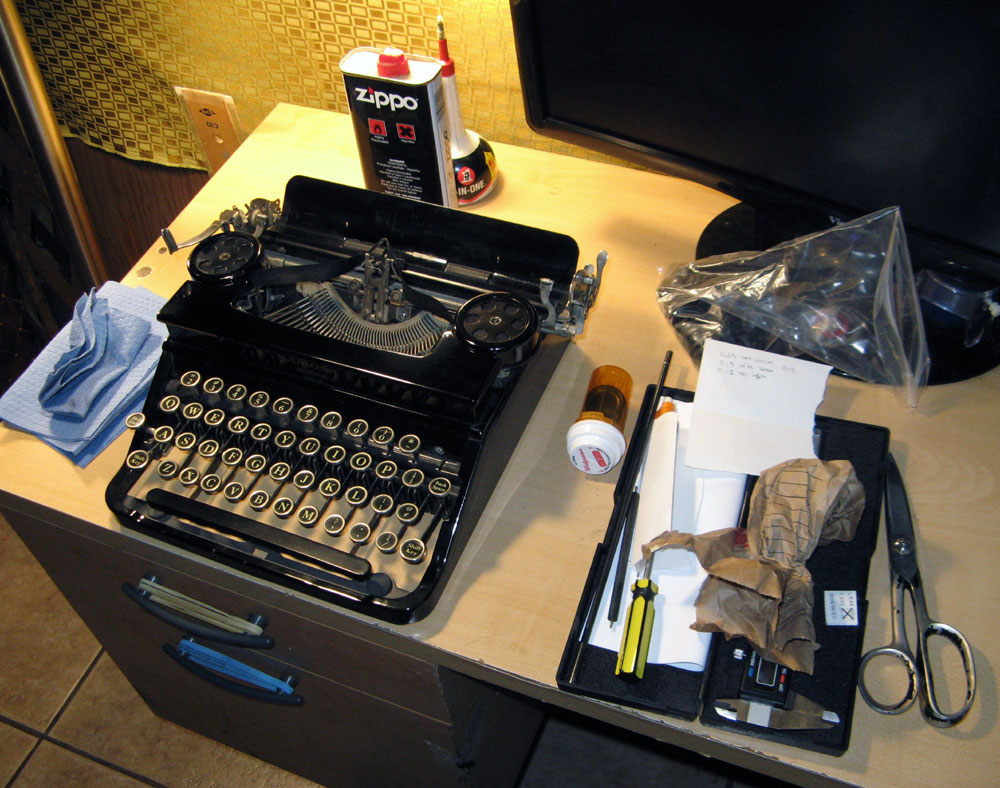
Weapon of Choice: 1936 Corona Junior Model S.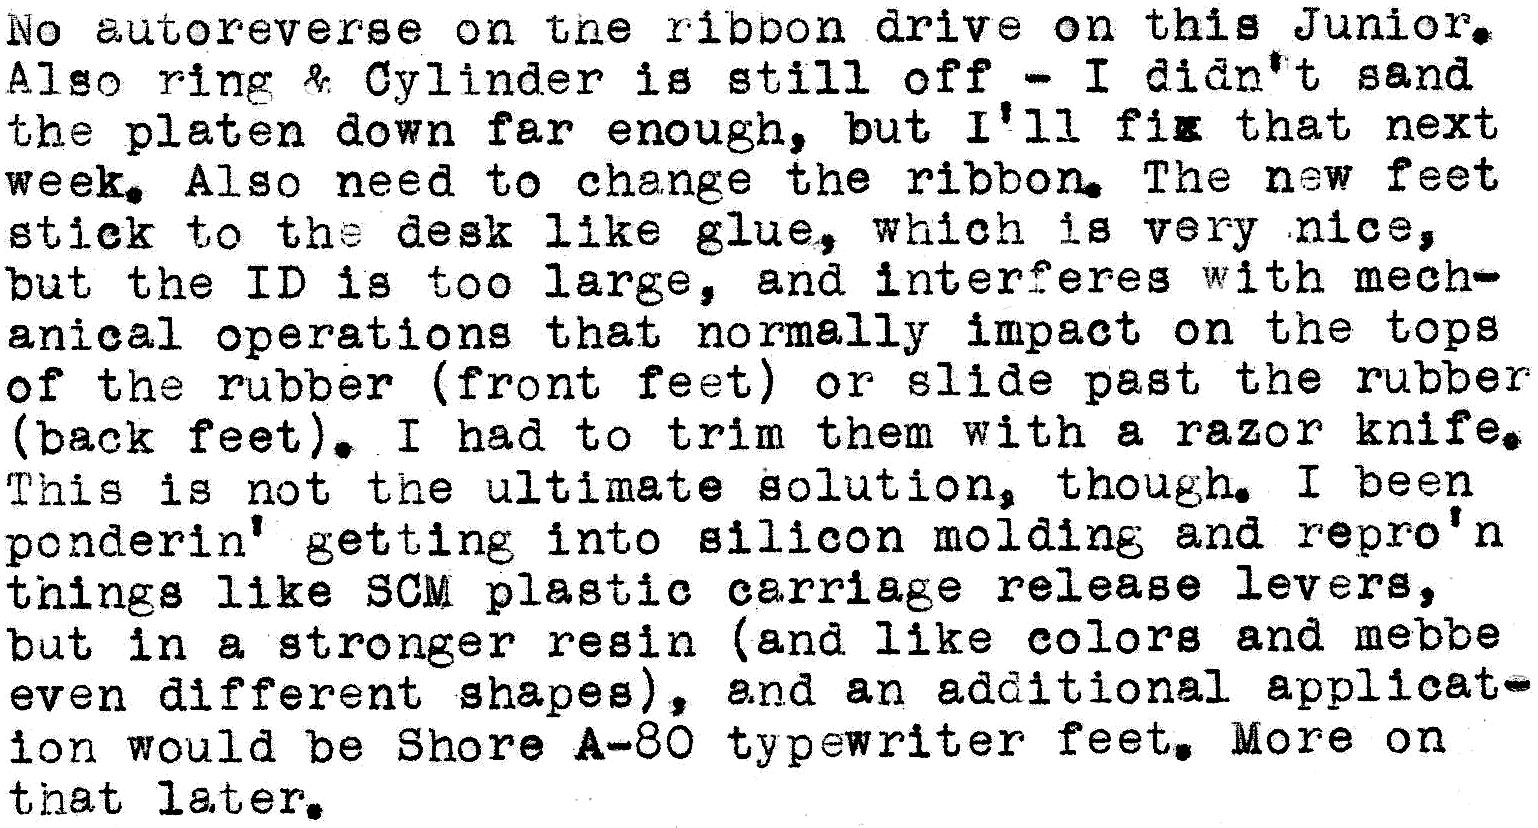
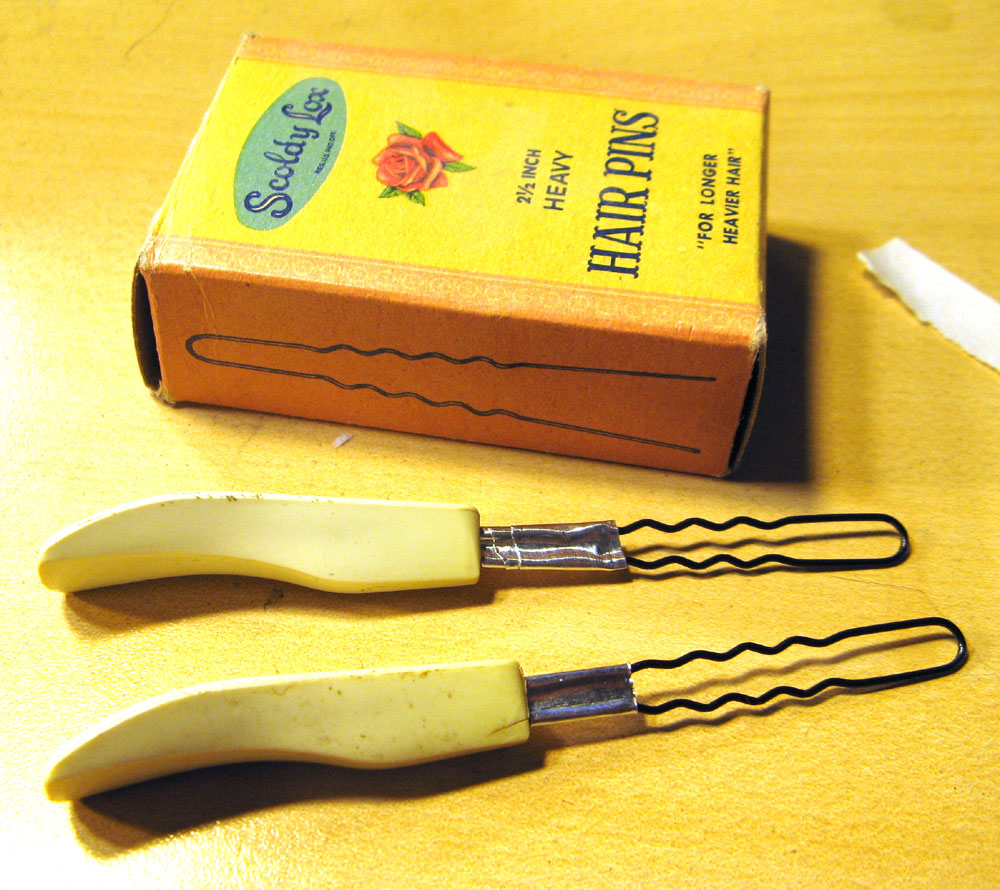
The Carriage Release Levers on 1959-1980’s SCM portables are prone to breakage and getting more so as they age. These, from Bubbles, my own 1960 Galaxie are brittle and developing hairline cracks despite being in quite good shape. They also aren’t white anymore. I pondered how I might cast a mold for them while retaining the little slot at the end that the metal shaft inserts into and finally struck on using some 1940’s-vintage “Scoldy Lox” hair pins and some aluminum tape.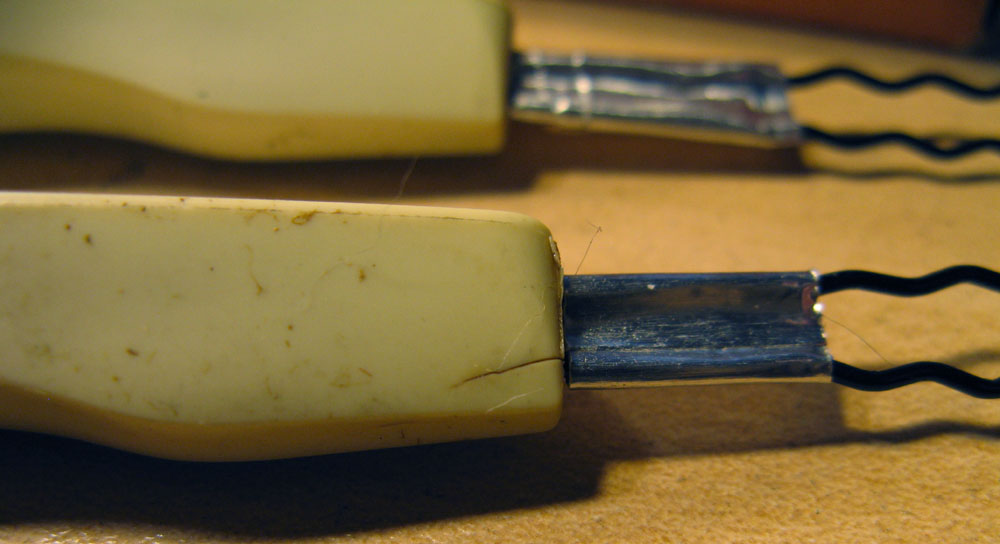
These are not really a survivable design, the way the ends triangle inwards and leave very little plastic to actually hold onto the steel peg it slots over. Once I cast some exact replicas, the next step will be to re-shape them to add more strength to the ends so the ones I’m eventually going to produce will not be so weak. Then the opportunities for adding decoration can be explored – there are some limitations like the fact that the top back slope has to be pretty much that same size and slope (because some SCM cases have a built-in steel bit that pushes on that end when you close the case so the escapement rack disengages to protect the teeth), but if I keep that in mind there should be no problems.

Pulled out the platen to grind down and wrap with fresh rubber. Ideally, the end result will be exactly factory diameter – it’s a step that previous shrink-tube methods neglect so far, and I think it can make a huge difference when the ring & cylinder is correct.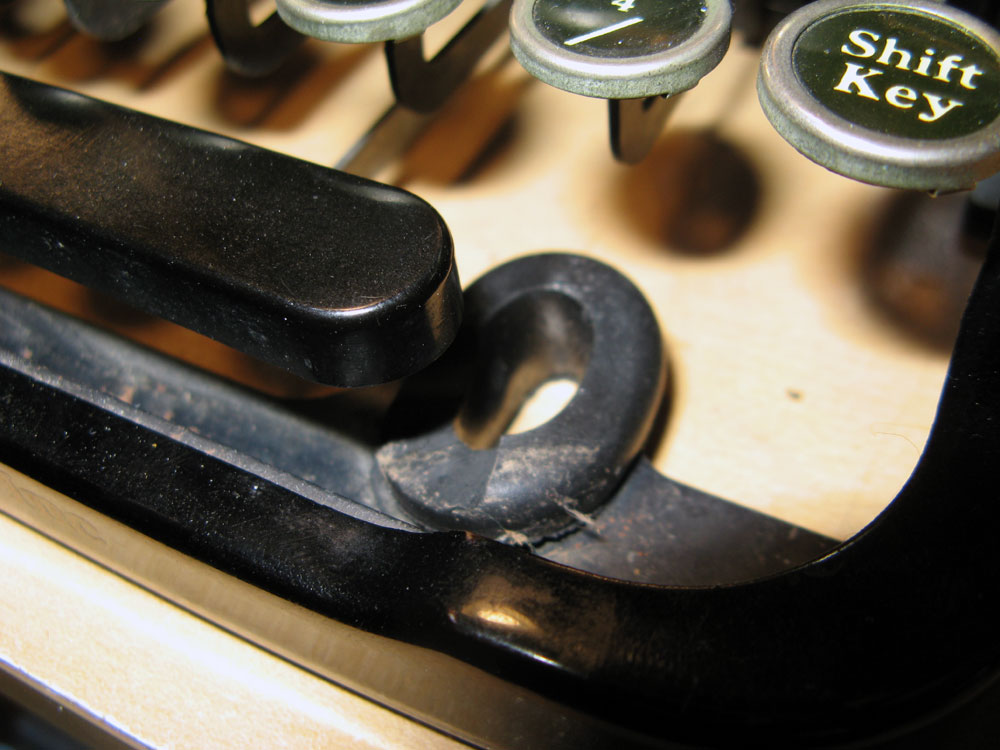
I tried these rubber grommets that Duane Jensen recommended for 20’s Remington Portables – boy howdy they grip the desk like mad, but require carving to work right. Not entirely satisfactory, so I’m pondering making molds for new rubber feet of *exactly* the right size and shape.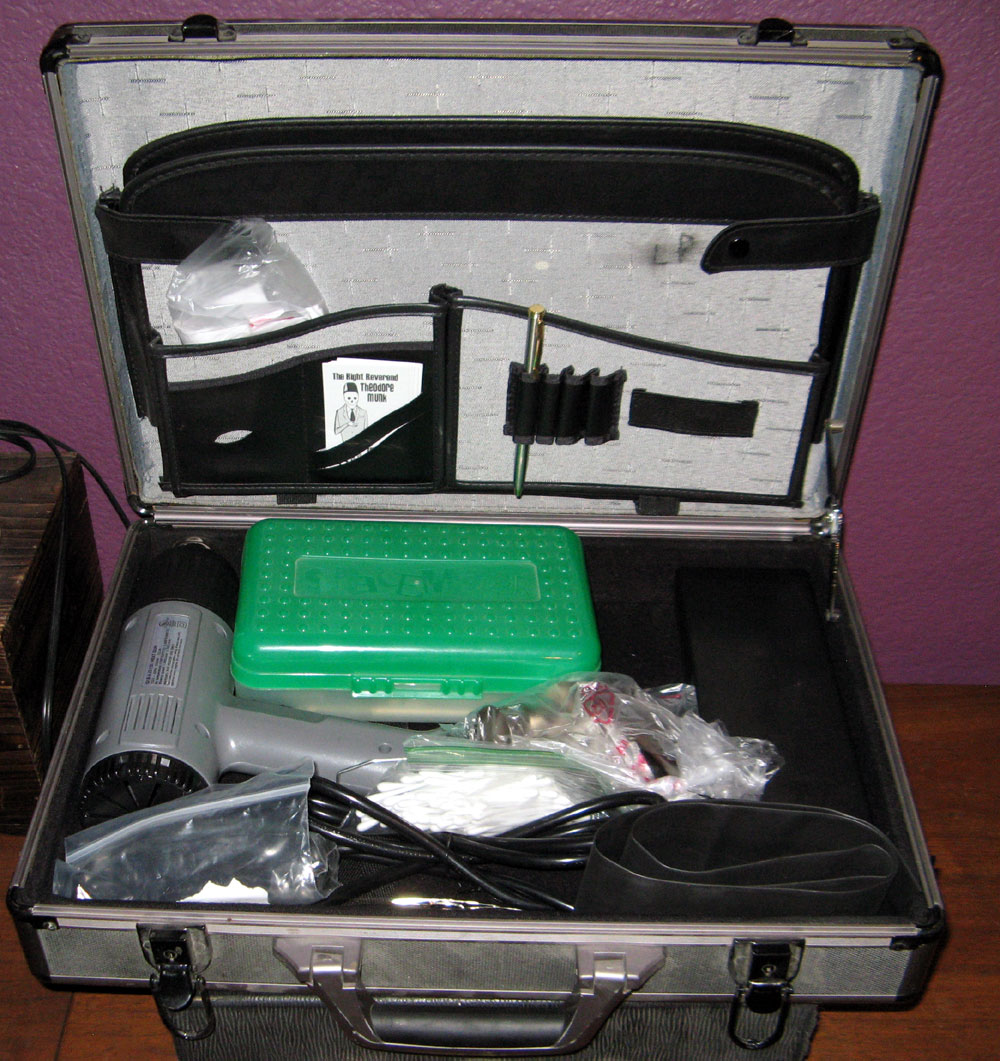
The Suitcase of Rubber Replacement.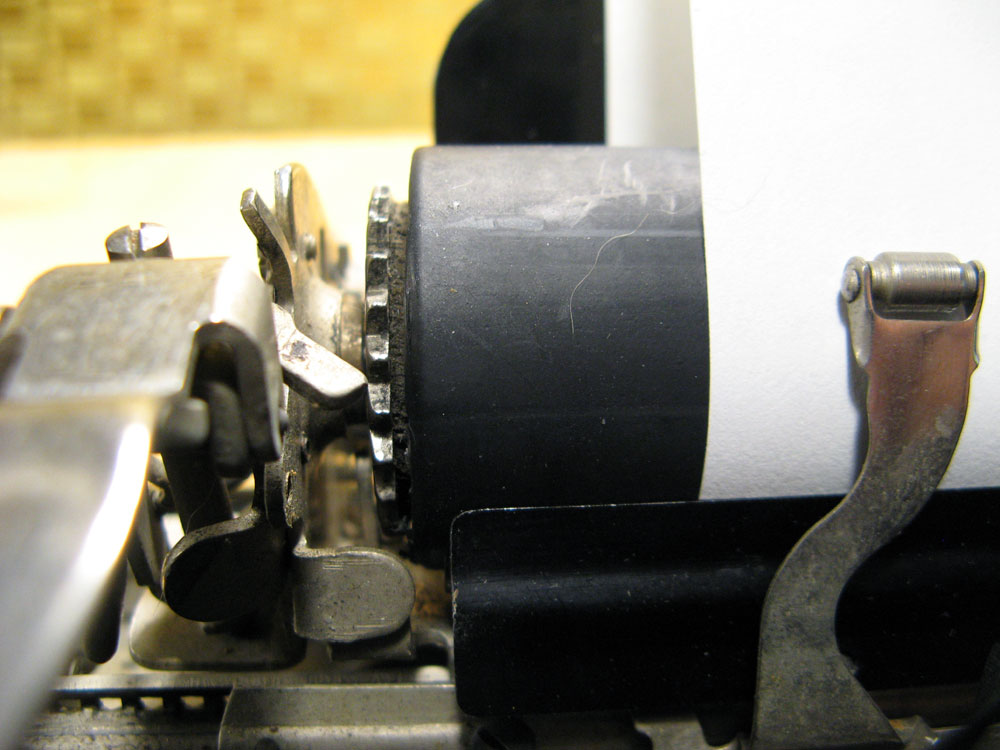
Pretty good surface, but Ring & Cylinder isn’t quite right yet. I want *perfect* impression, so I’ll be stripping and re-grinding next week when I can get at Bill’s shop lathe.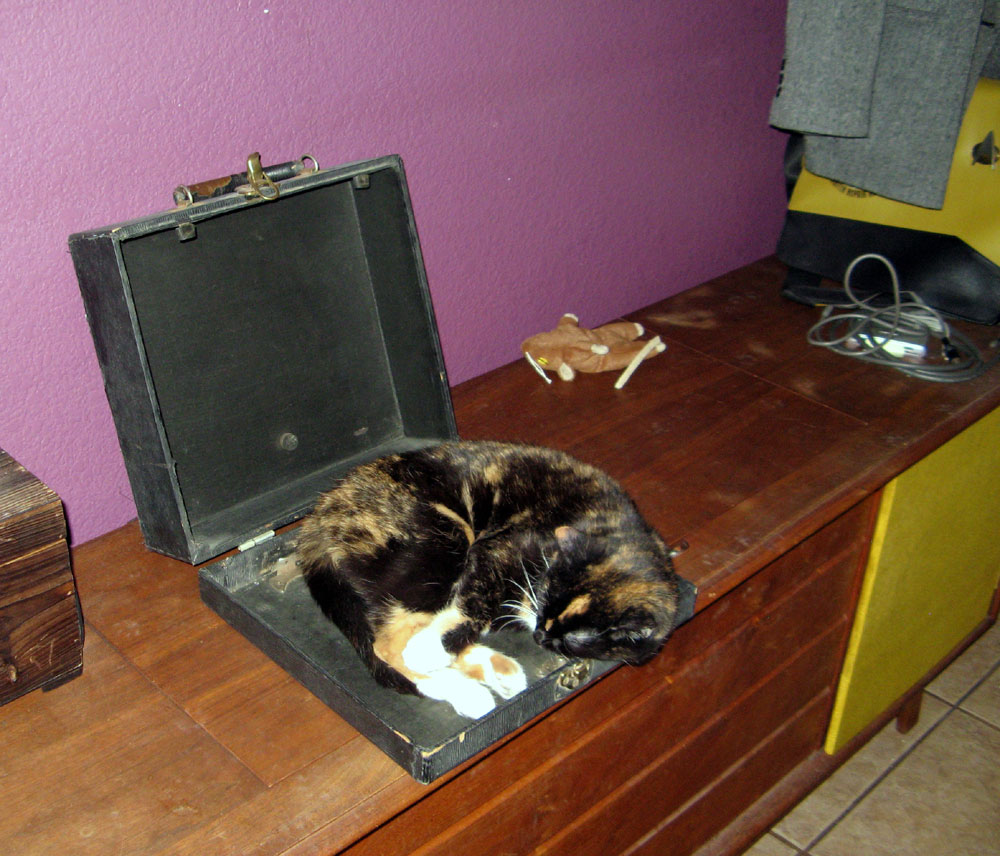
Preliminary carrying case dusting by Number Six. I just cannot leave open typewriter cases lying around without catching a cat in one pretty much immediately.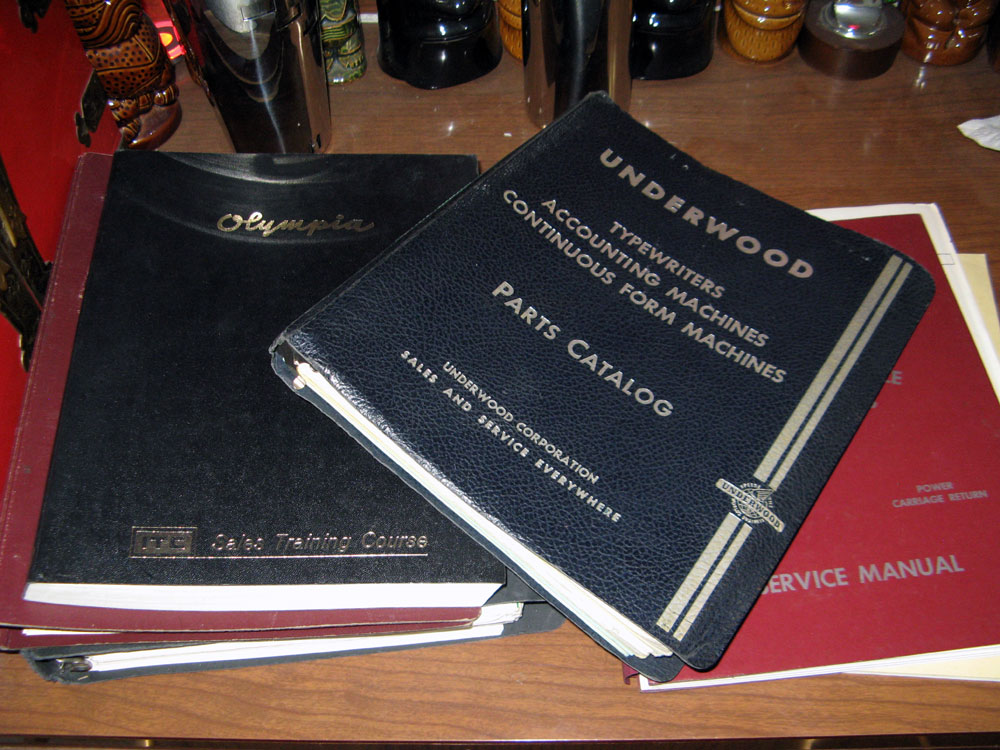
Been scanning too – some upcoming stuff.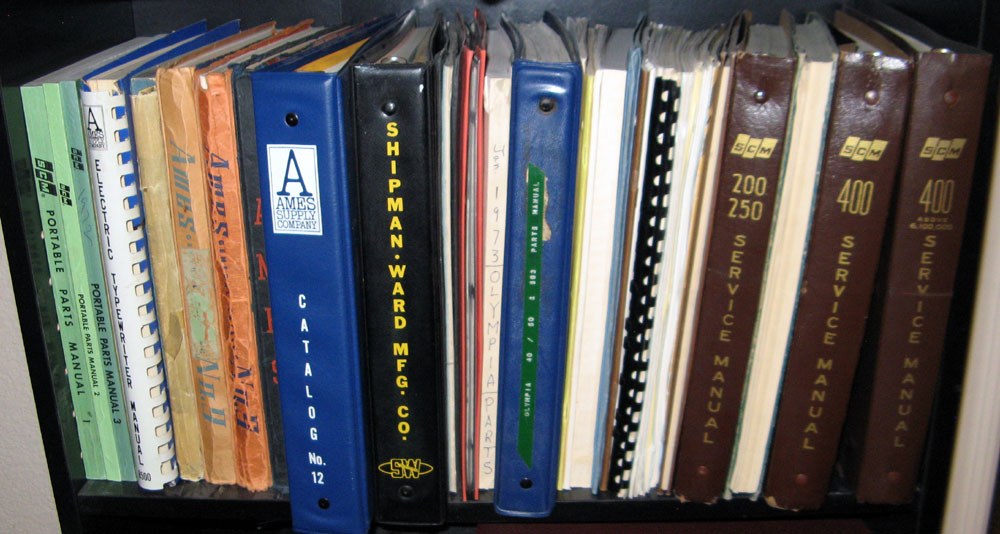
Most of this is now uploaded to the O.O.P.R.A.P. Sellfy Store, but I still have to massage those SCM service manuals into readable shape, the original print is super-terrible.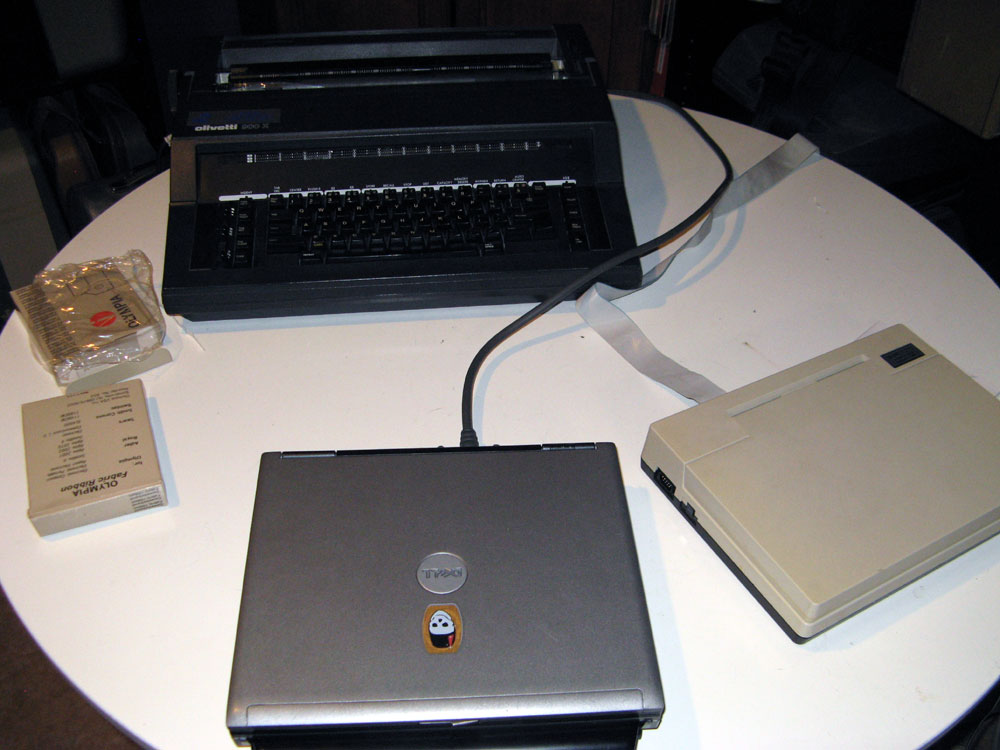
Aaand, of course – a bit of retrocomputing.
Oh yeah, the Sellfy store now has *Categories*! It’s easier now to sort though what’s up there – very important now that there’s so much more stuff being uploaded. Take a look! (:
-RRTM
ooo, I can’t wait for the finished scans.
Covid-19 by the kibash to my 3D printing of those SCM levers. I have one that is ok for a model, but planned on using one of the good ones from one of my Classic-12s.
That typewriter is going to make someone very happy!
Finally, you should gather old typewriter cases and sell them on ebay as portable cat beds.
Good to see that you’re busy and productive!
The silly SCM levers are really frustrating. Why couldn’t they keep making things to last a century, like most typewriters manufacturers did before 1960?
I’m interested in seeing how your SCM carriage release lever casting experiments pan out. I’ve thought about casting with Bondo, but the color is pretty blug.
Two thumbs up on the Case O’ Rubber Replacement and the Case O’ Cat.
If a part needs to be reinforced to make it stronger, Consider a layer of fiberglass. Paint on a layer of resin, then cover with a layer of fiberglass cloth. It is loosely woven so will mold as needed. Then saturate with resin. It will add a little thickness, but will be very strong. It can be dyed if you need in depth color. It might even work to mold a handle if the mold can be split in half. Remember “Ironrite?” It was sort of a resin but half iron dust. After hardening, it looked and acted like cast iron.
I have a friend who repairs cracked plastic hubs by winding with stranded nylon thread, then he paints with epoxy. When winding the thread, get as tight as possible to reduce the hub size to it’s original size.