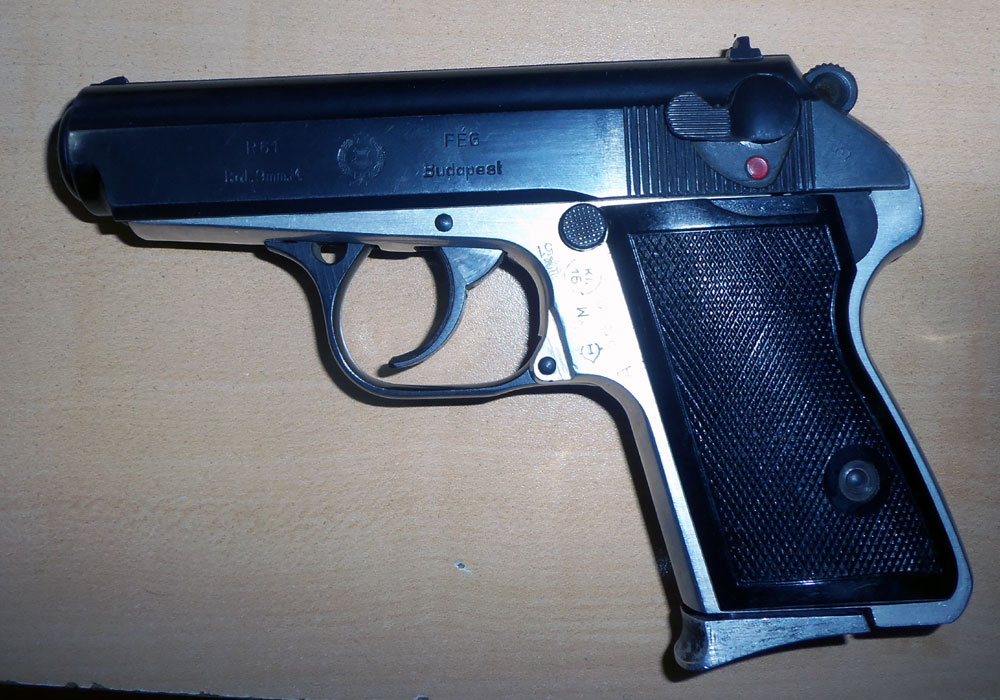
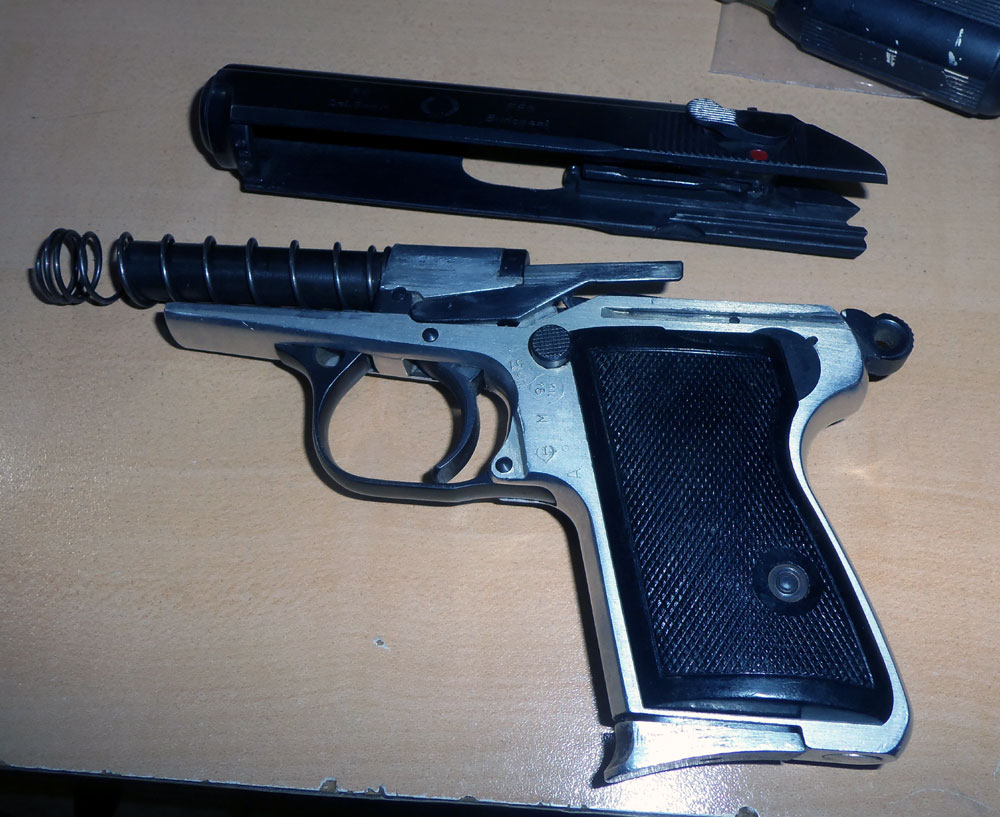
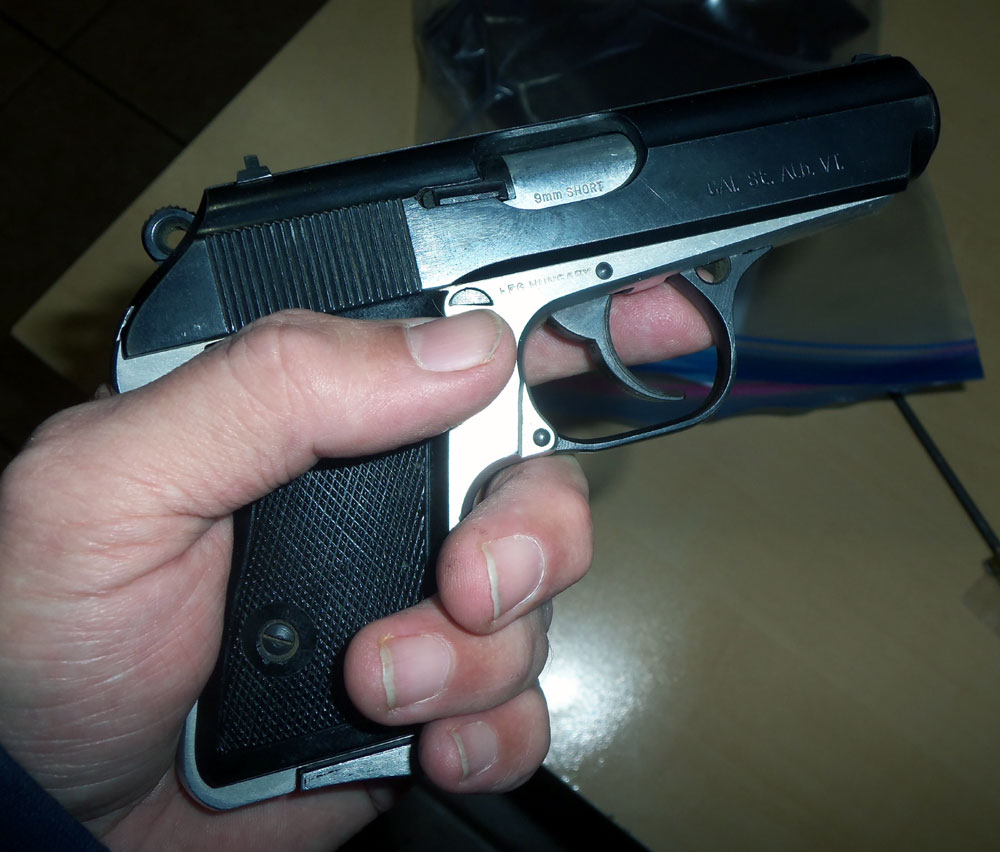
Ahh, the Ninties. The Wall had just fallen (no, not *that* Wall, the Berlin Wall) and the Iron Curtain had crashed down under the weight of insanely paranoid defense spending during the Reagan years. Newly ex-Soviet Bloc governments privatized their weapons factories and scrambled to raise hard currency by selling off surplus police and military weapons to the West. Soon, the American gun stores were awash with $99 SKS rifles and were introduced to Soviet 7.62X39mm and 9mm Makarov calibers by the inexpensive cratesful. If you were a fan of the compact Walther PPK, Hungary’s Fémáru Fegyver és Gépgyár in Budapest had an “Improved” version of the PPK design in the form of the police-surplus aluminum and titanium-frame FEG R-61, manufactured between 1961 through 1978. Same size, but lighter than a PPK, and fired a bigger cartridge than Bond would be used to. Yes, please – I’ll take one! (:
Good little shooter, that one. Mine is an early one, “A” serial prefix, .380acp re-chambered and flat grips, accurate, but kicked like a mule compared to a .32 PPK. I loved it. Then one day in the mid Oughts, it quit going bang at an inopportune time and I had to cast it into Darkness. It was a time when the supply had dried up, but before you could get anything you wanted off the Internet, so parts for ex-Soviet Bloc police pistols were impossible to find. Recently, my R-61 returned and I decided to open ‘er up and see if I could find the parts to fix ‘er up.

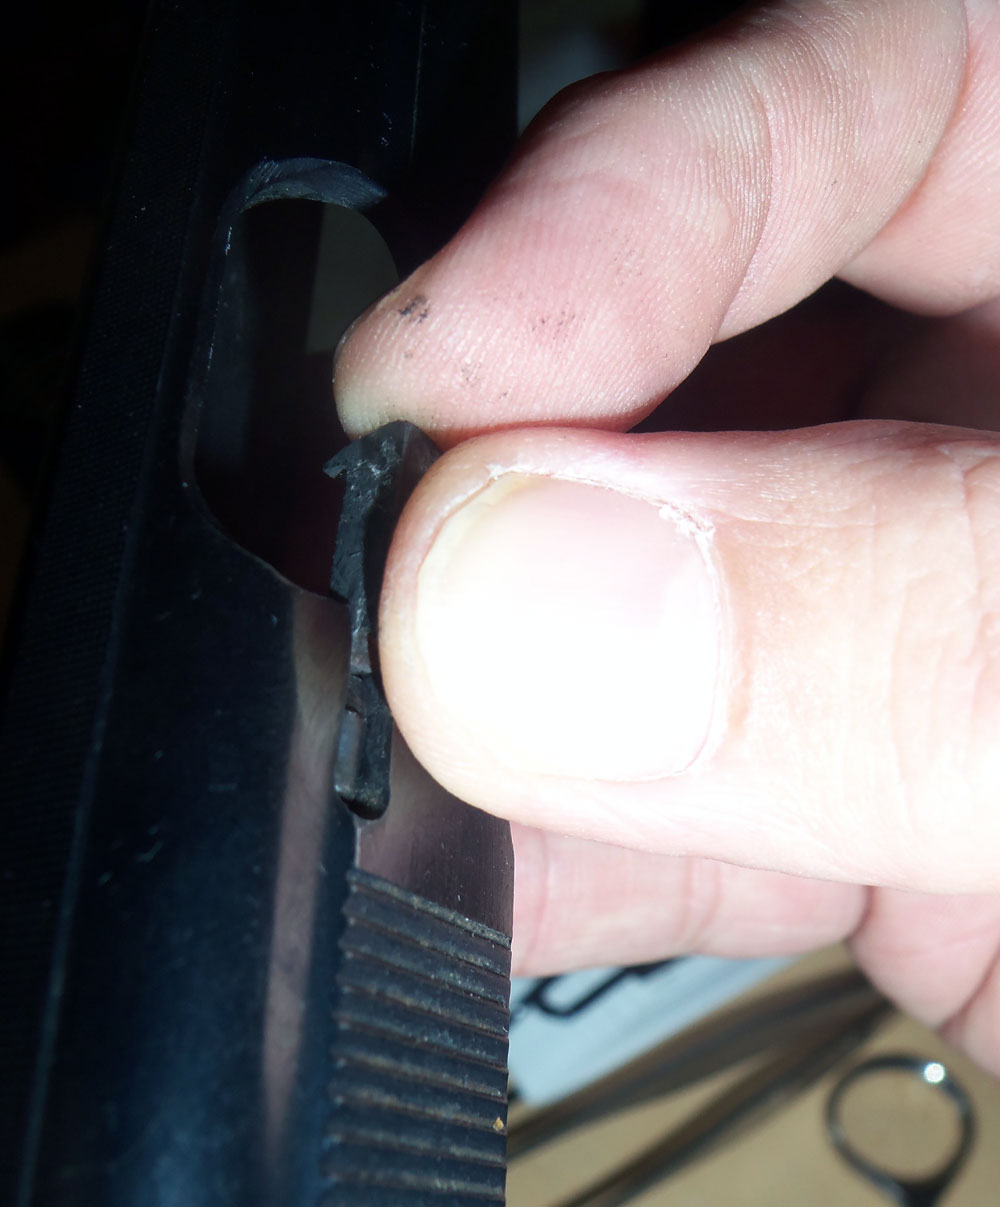
Ergh, busted firing pin. That wasn’t easy to find. I figured that the firing pin out of the much more common PA-63 would work, but had read that it wouldn’t. I ordered one from Numrich anyway, on the off chance the naysayers were wrong.
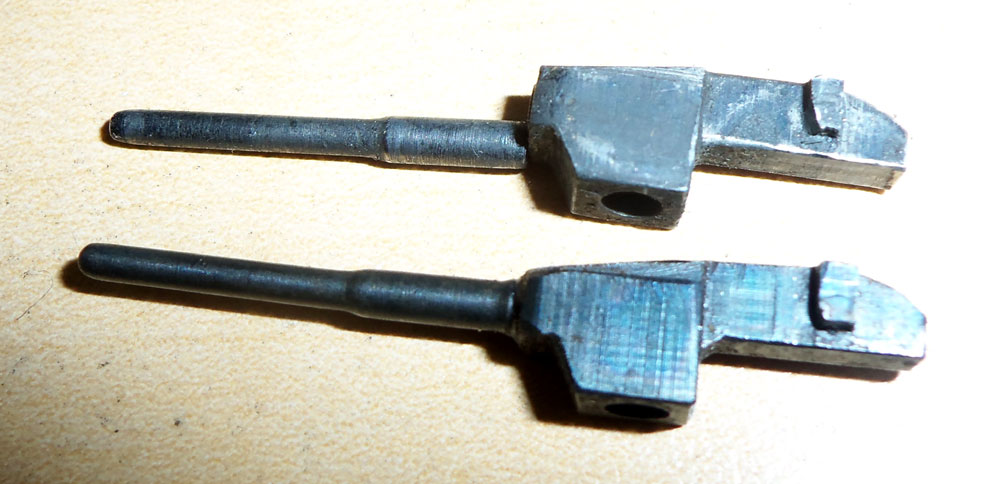
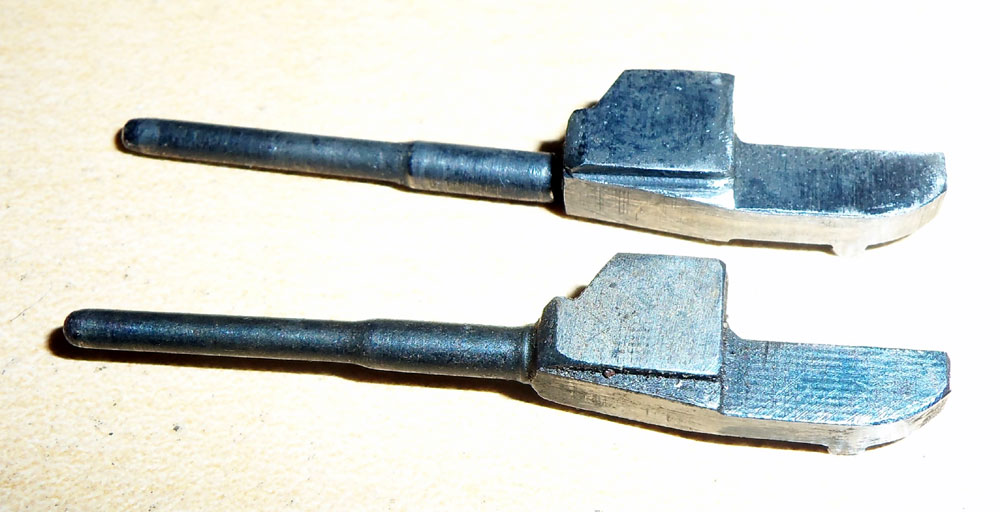
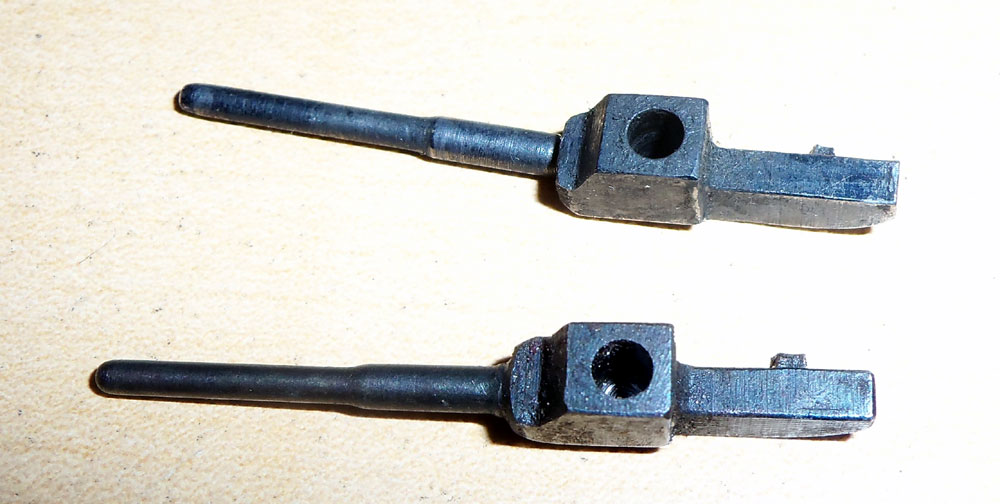

Yep, the PA-63 firing pin looks identical to the broken R-61 one, let’s see if it fits..

Forgot to take pics of disassembly, but that’s the easy part, especially with a broken firing pin. I just fished out the bits and pulled the safety block. The hard part is getting it back together. There’s 3 tiny springs, 2 plungers and a pin to all socket into place at the same time. It requires 3 hands and a spring-finding cat that will locate the tiny parts that go flying across the room when things slip. I recommend pulling out the extractor so that the safety detent peg will drop all the way down the detent hole, because the detent peg won’t even remotely stay in a stable place unless the extractor spring is removed. Luckily, the spring and extractor can be reinstalled from the front, so that’s probably the way it’s meant to be done.
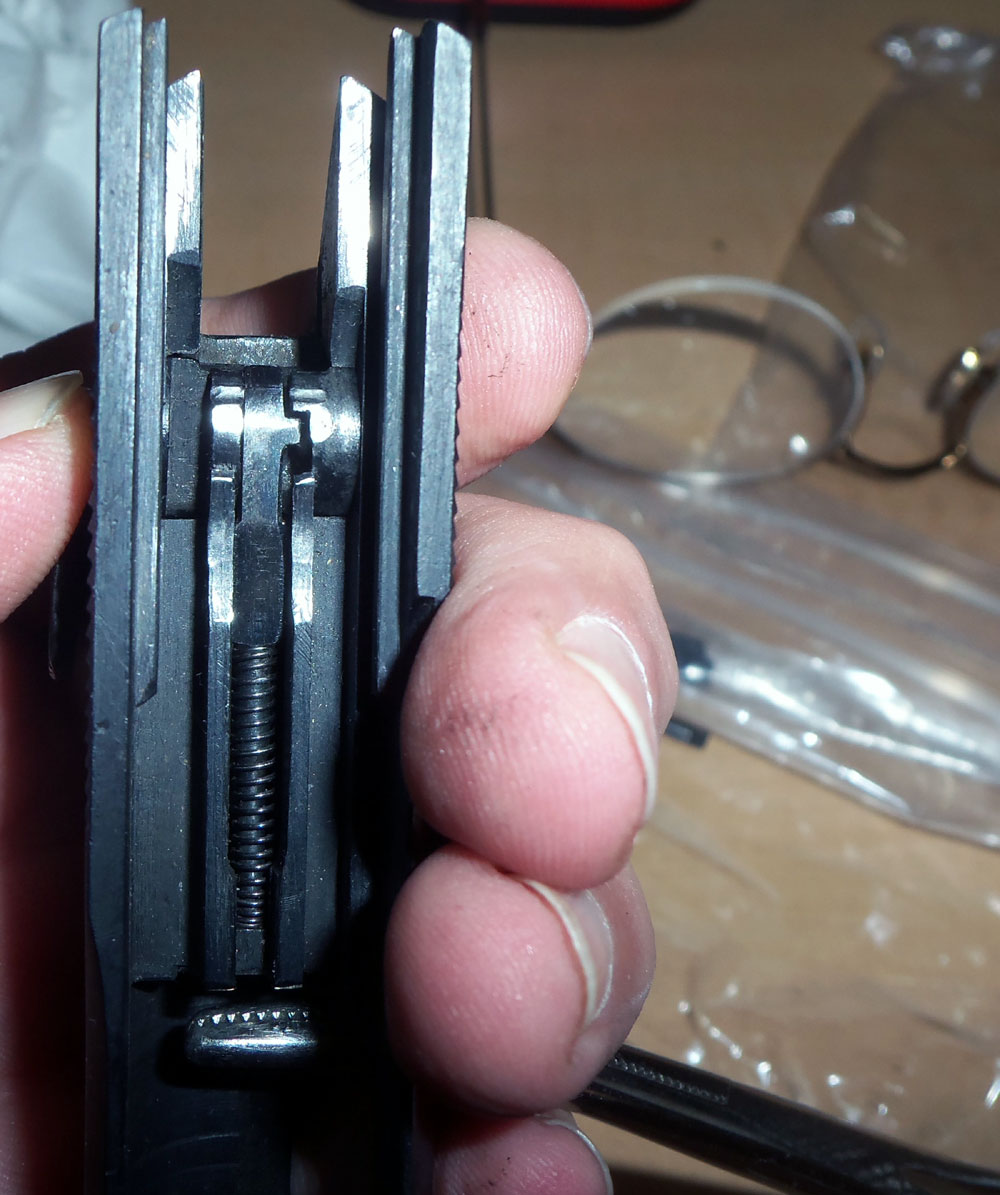
once the extractor is removed, drop the extractor tension spring and plug down the spring hole first. It’ll drop out the front anyway, but it helps to guide the detent peg down easily when it’s in there.

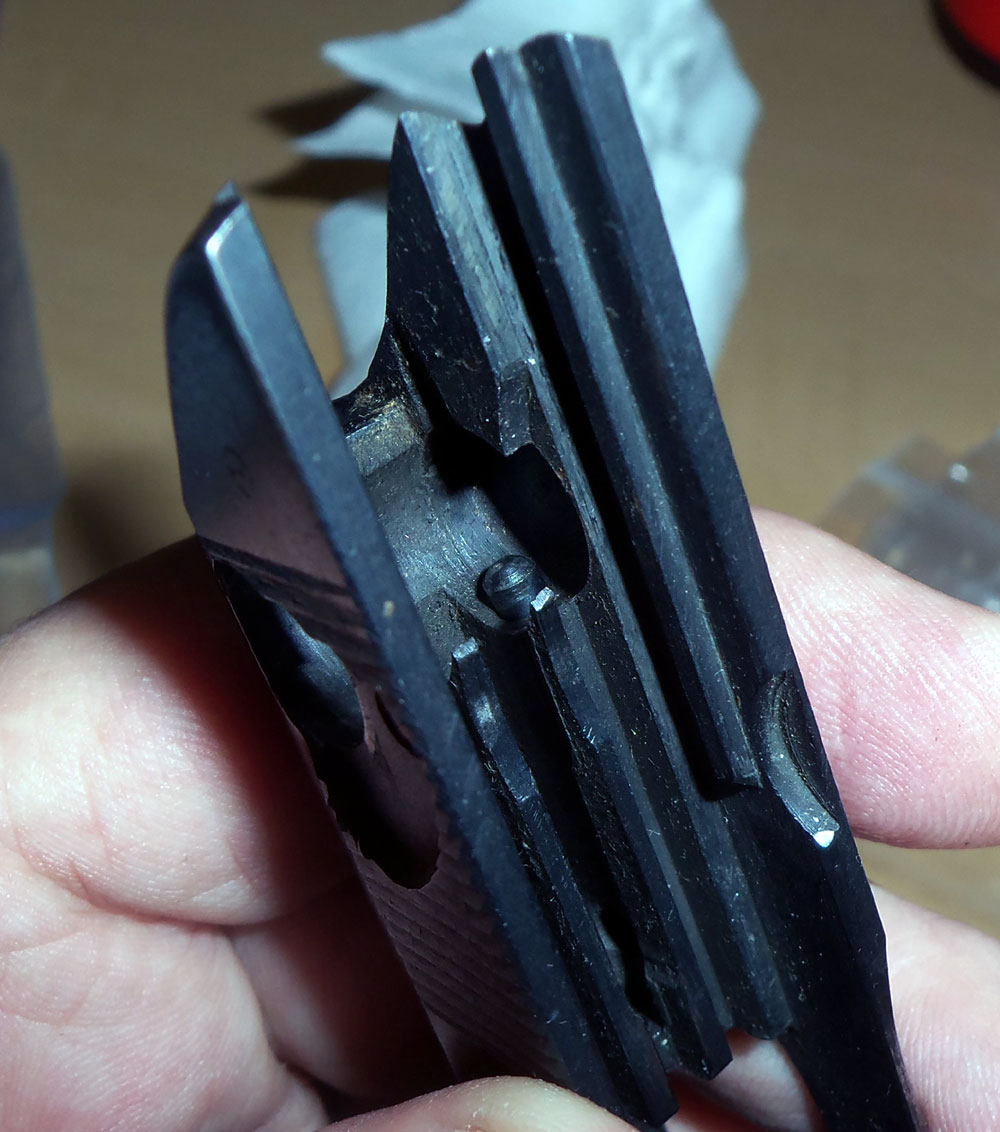
drop the detent peg down after the spring, flat end down and dome end up. Tap it all the way in.
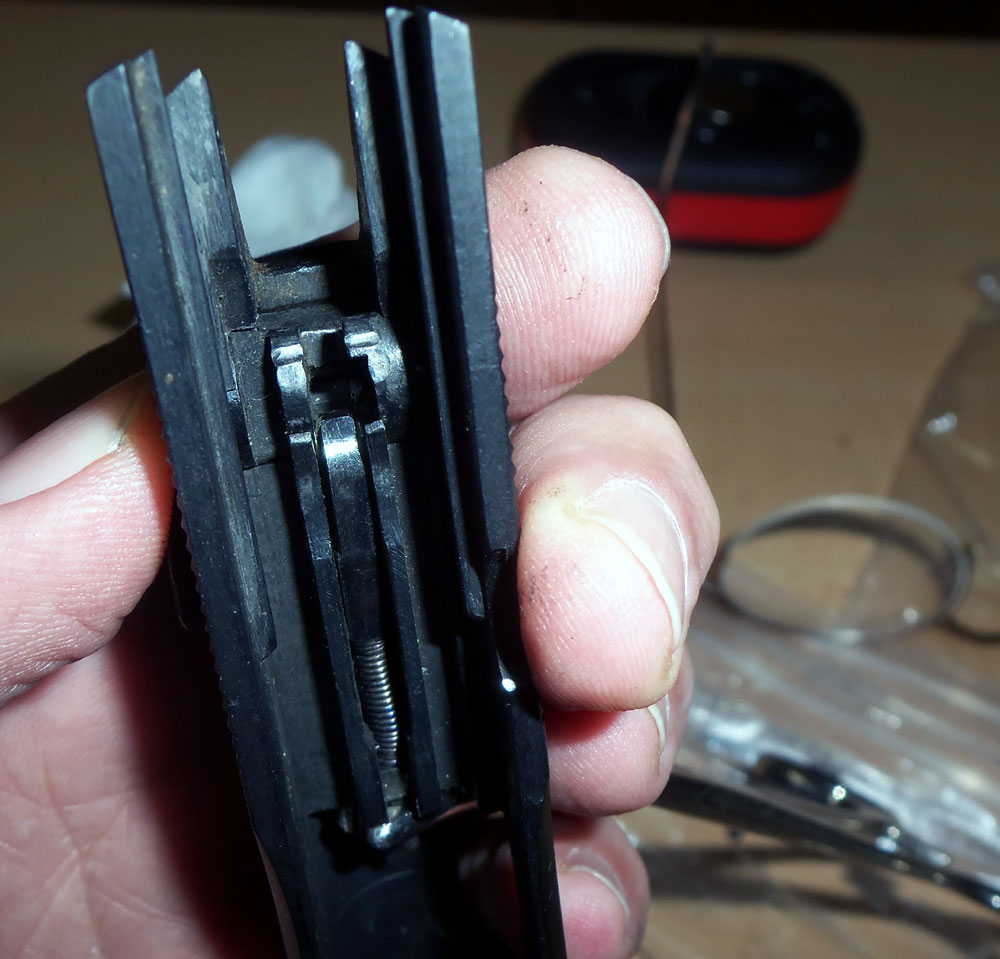
the spring will drop out the front of the extractor slot, and that’s fine. The detent peg will drop down this far. From this point on, don’t tip the slide back or the peg will drop back out and you’ll be crawling around the floor looking for it.
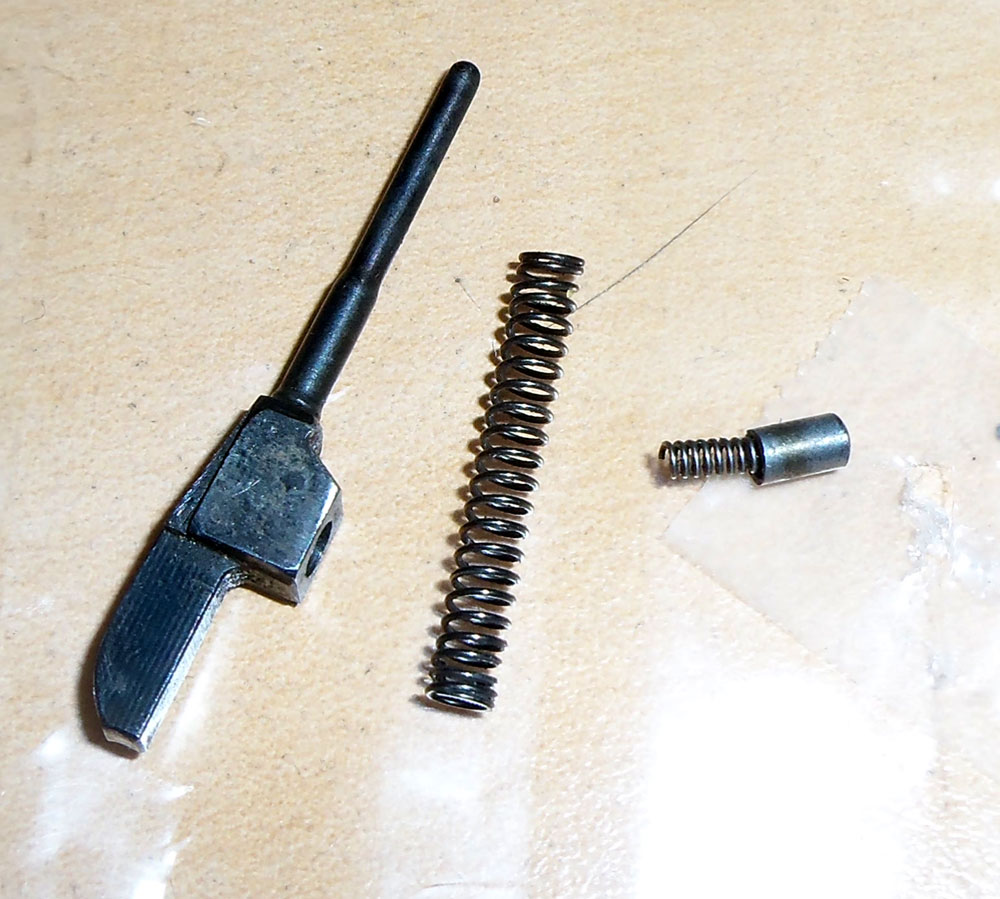
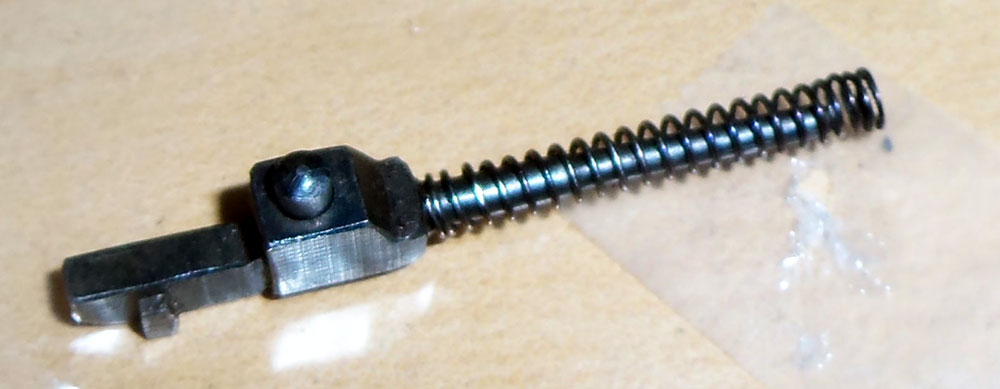
Assemble the firing pin assembly…
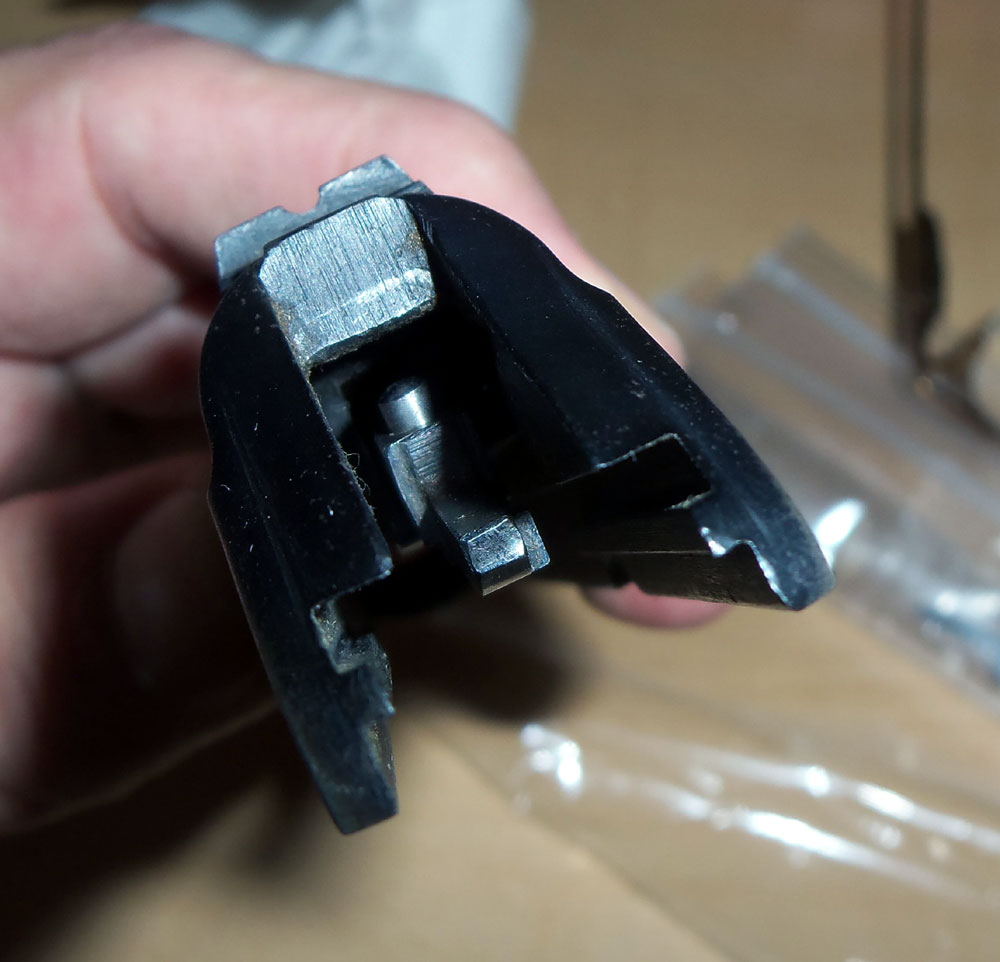
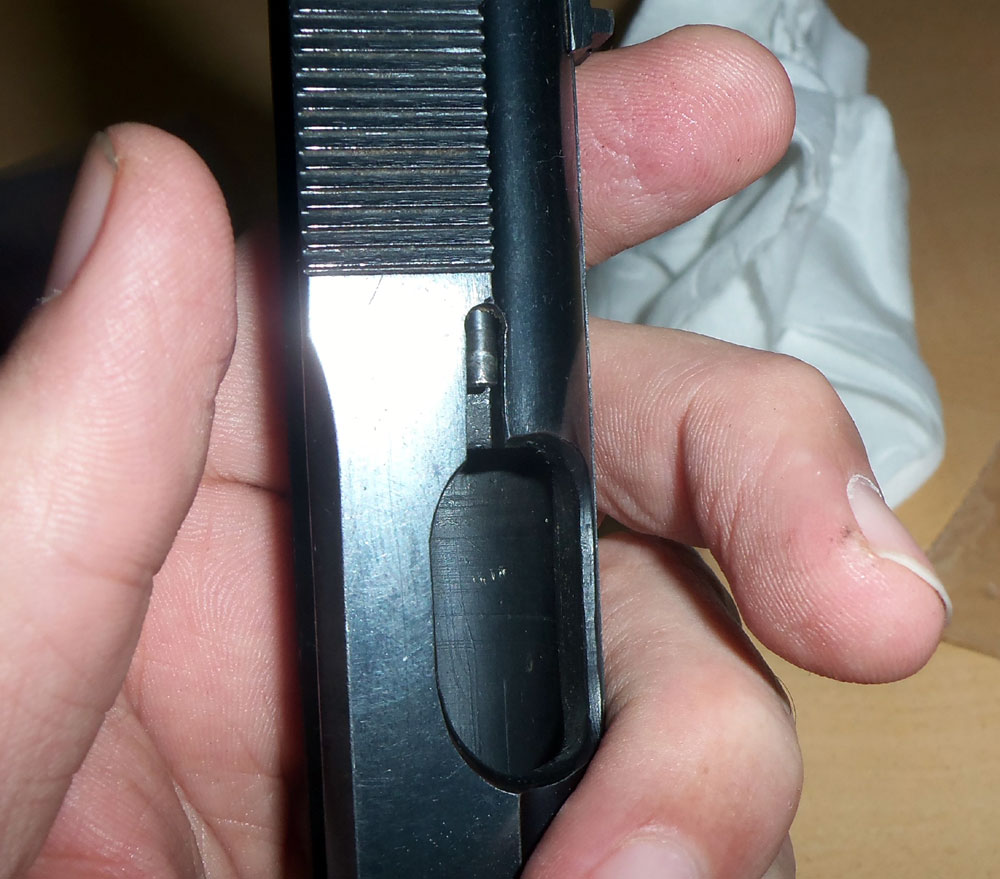
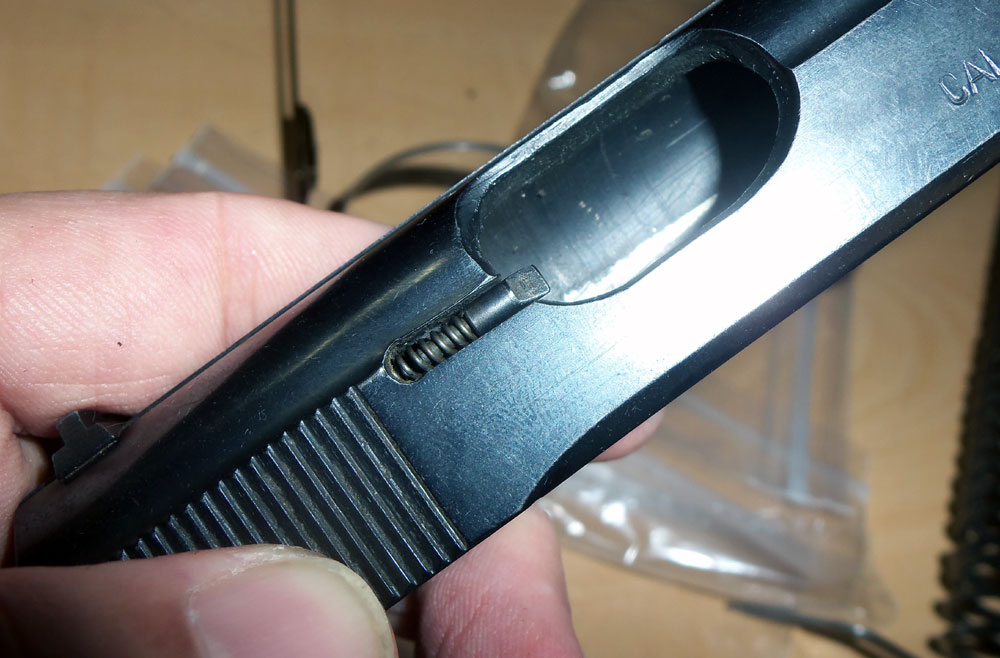
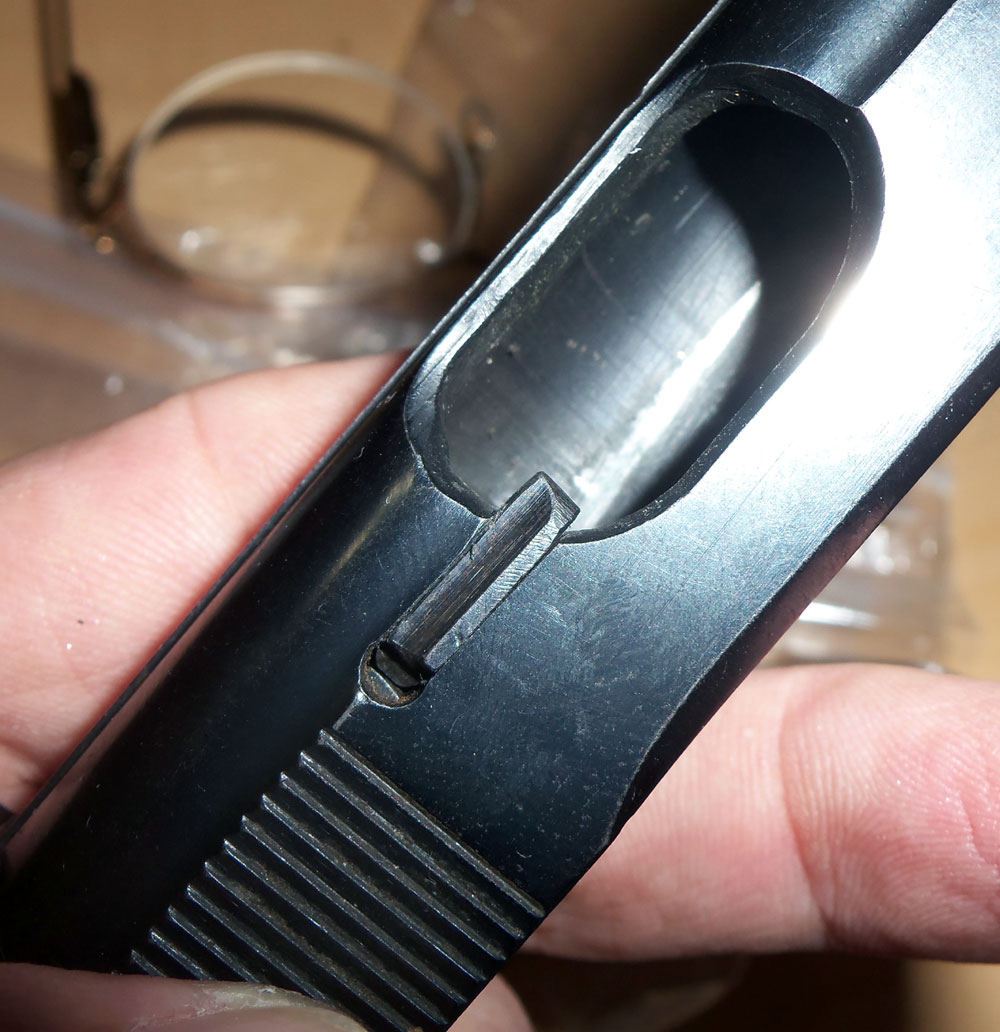
Insert the firing pin assembly with the spring dome pointed upwards. Carefully push it all the way in so the tip of the pin comes out the hole in the breech face.
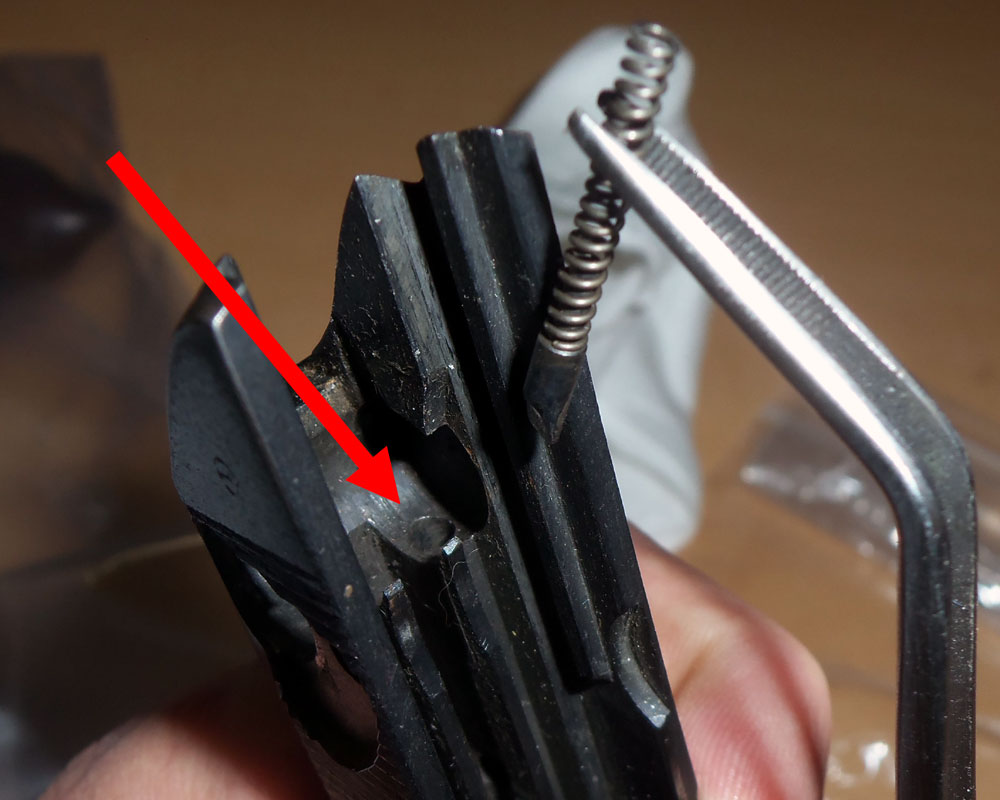
Push the firing pin through the breech face as far as it will compress, and grab it with some hemostats to lock it into the forward position. Make sure not to tilt the slide back, as the detent pin isn’t secure yet.
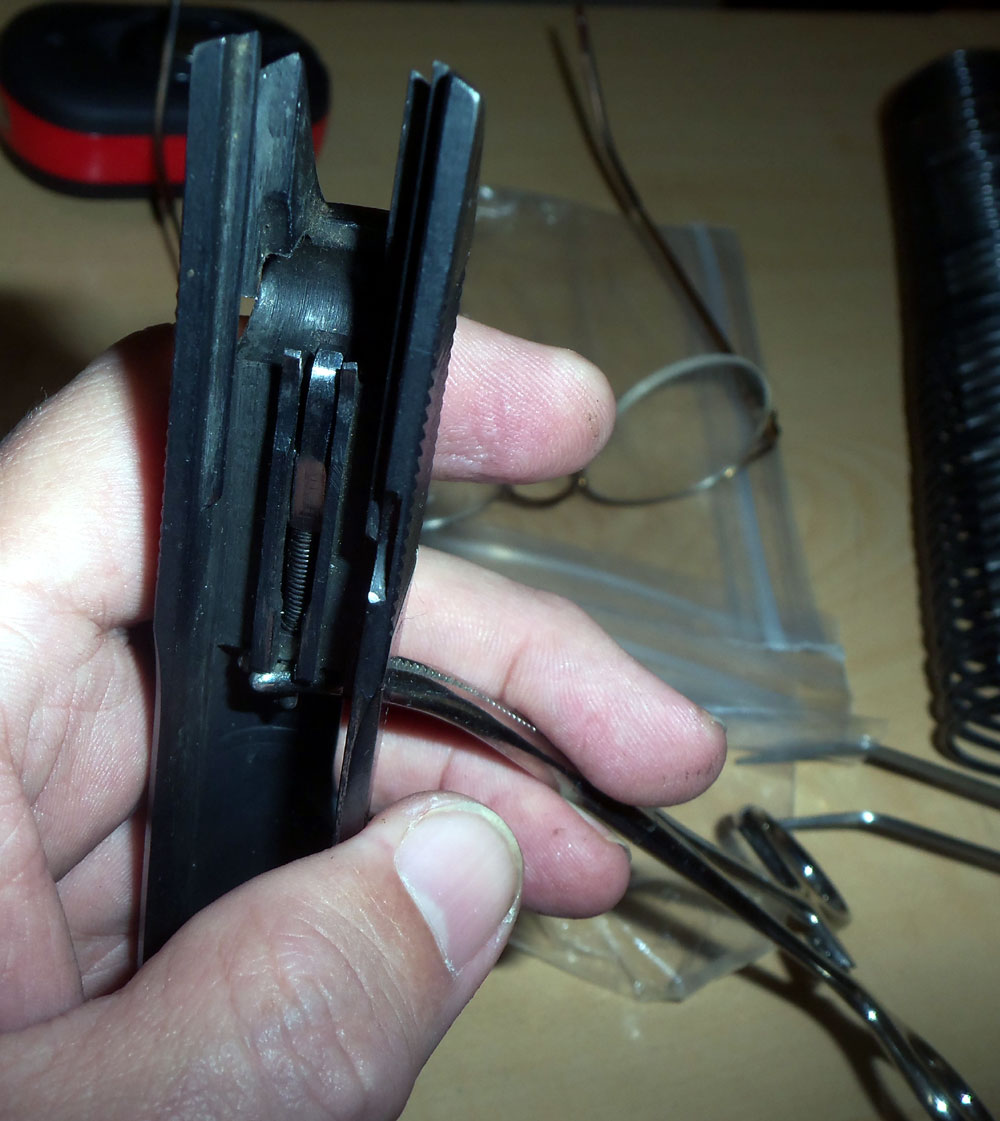
push in the safety block, while pulling down the firing pin so it slots correctly into the block.
Set the safety lever to “fire” position and line up the slot with the rear of the firing pin.
Unlock the hemostats so the firing pin snaps into place.
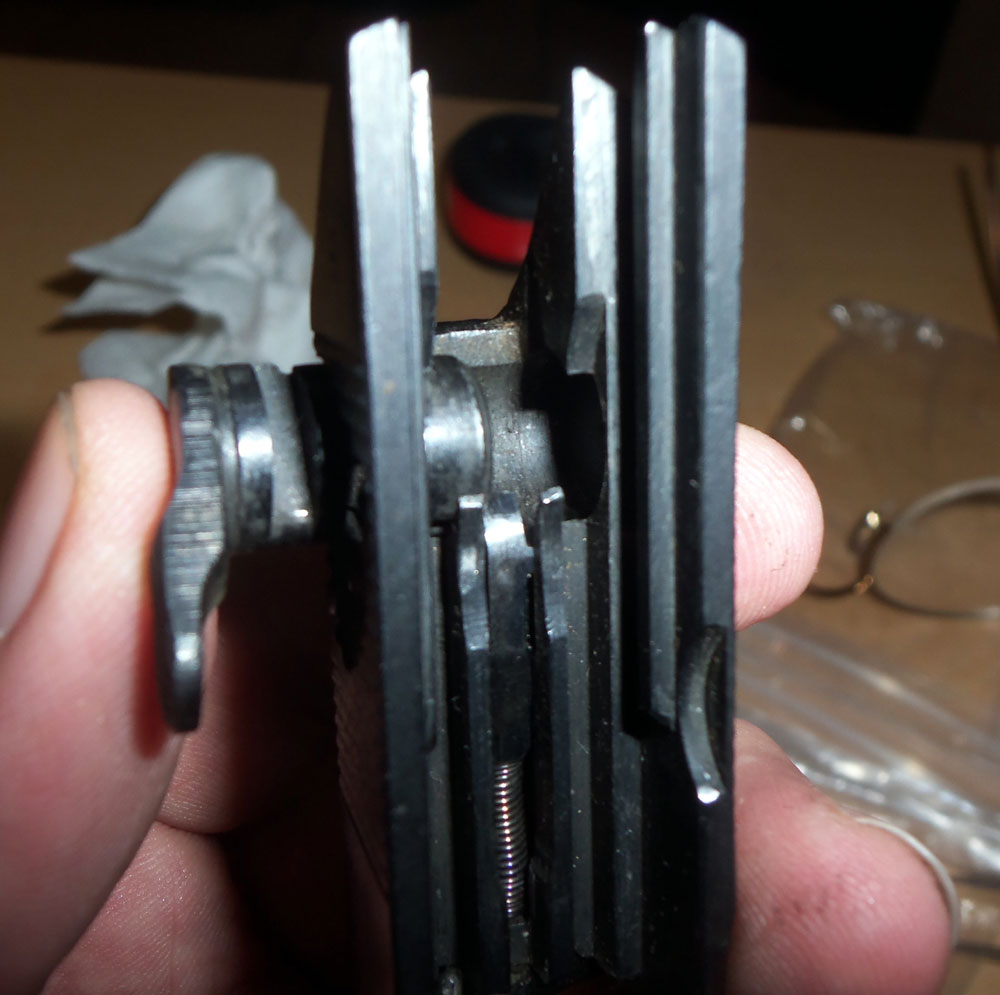
Insert the extractor/detent spring into the extractor slot in the front as shown. Orient with flat end out.
Re-install the extractor by sliding it into the slot and compressing the spring. It’ll click into place and stay.
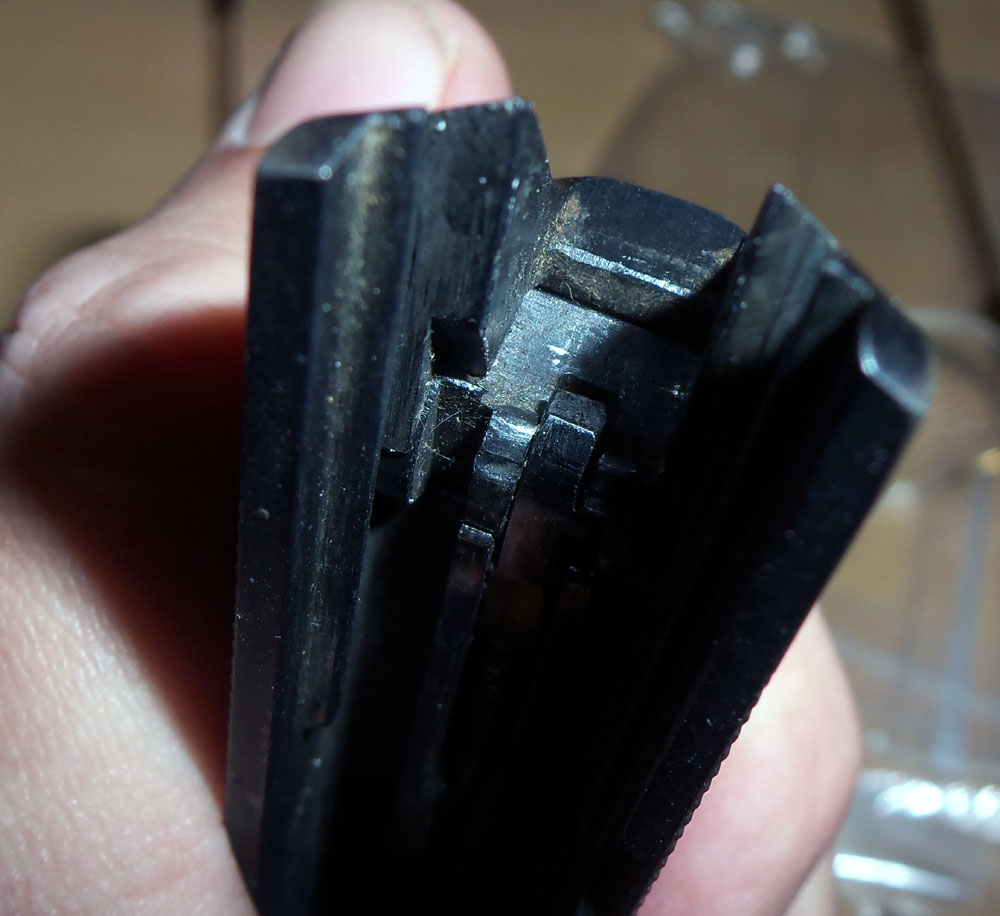

Check that the safety works and the firing pin is properly positioned.
Reinstall slide onto frame, making sure you don’t accidentally pop the ejector off. If that tiny spring shown below pops out, you’ll have fun finding it again..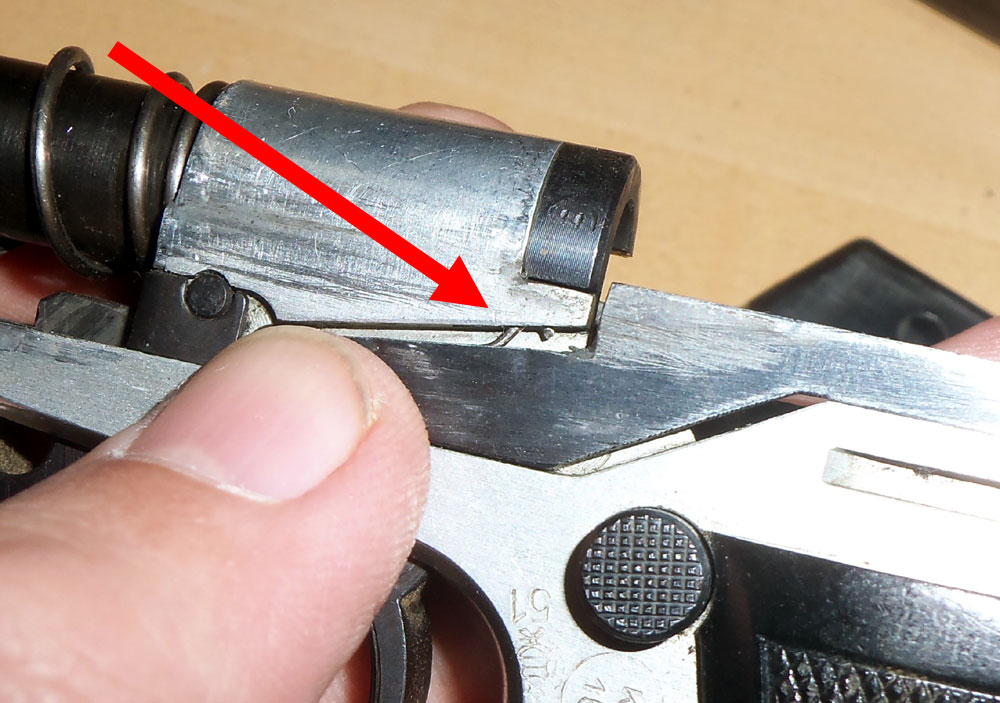
I’ll have to find some time to take it to the range and test it. Gotta make sure the pin isn’t too long (it is *bad* when a small pistol goes off like an open-bolt machine gun, trust me on that one). I’m not planning on actually loading it until I’ve done that safety check – basically you never want to do a first load of an untested gun anyplace where it would be bad if it went off accidentally. I’ll update this post with the result when I do, so you know the PA-63 pin actually works in the R-61. :D
Congratulations on the nice work.
Although I’ve done repairs on several of my firearms, I never had the nerve to work on any of my semiautomatics. I still have my PPK. Must be 30 years old.
Awesome coverage. I went through a similar process with a Star BM, sort of an undersized, Spanish-made, 9mm version of a Colt 1911. I miss the days of such precision craftsmanship.
Another interesting point is your reminder that there is a historical precedent about building walls. How did that work out, last time? How did that improve the plight of people on both sides? Can we learn from the past, or just repeat it?
Ooh, Spanish Stars are nice. I made secondhand acquaintance of one in the 90’s via a friend. Heavy, all-steel well-milled fellow. Good feel for carry and very tight. (:
Walls tend to slow down the inevitable, but they never do stop it, in my experience. Time is a loop that always surprises us for some reason I can’t fathom.
Any idea if the PA61 FEG takes other FEG Mags such as PA63
Dunno, don’t have any to try.